XML布局 参考
android:text
<TextViewandroid:id="@+id/textview"android:layout_width="wrap_content"android:layout_height="wrap_content"android:text="Android Java TextView"app:layout_constraintBottom_toBottomOf="parent"app:layout_constraintLeft_toLeftOf="parent"app:layout_constraintRight_toRightOf="parent"app:layout_constraintTop_toTopOf="parent" />
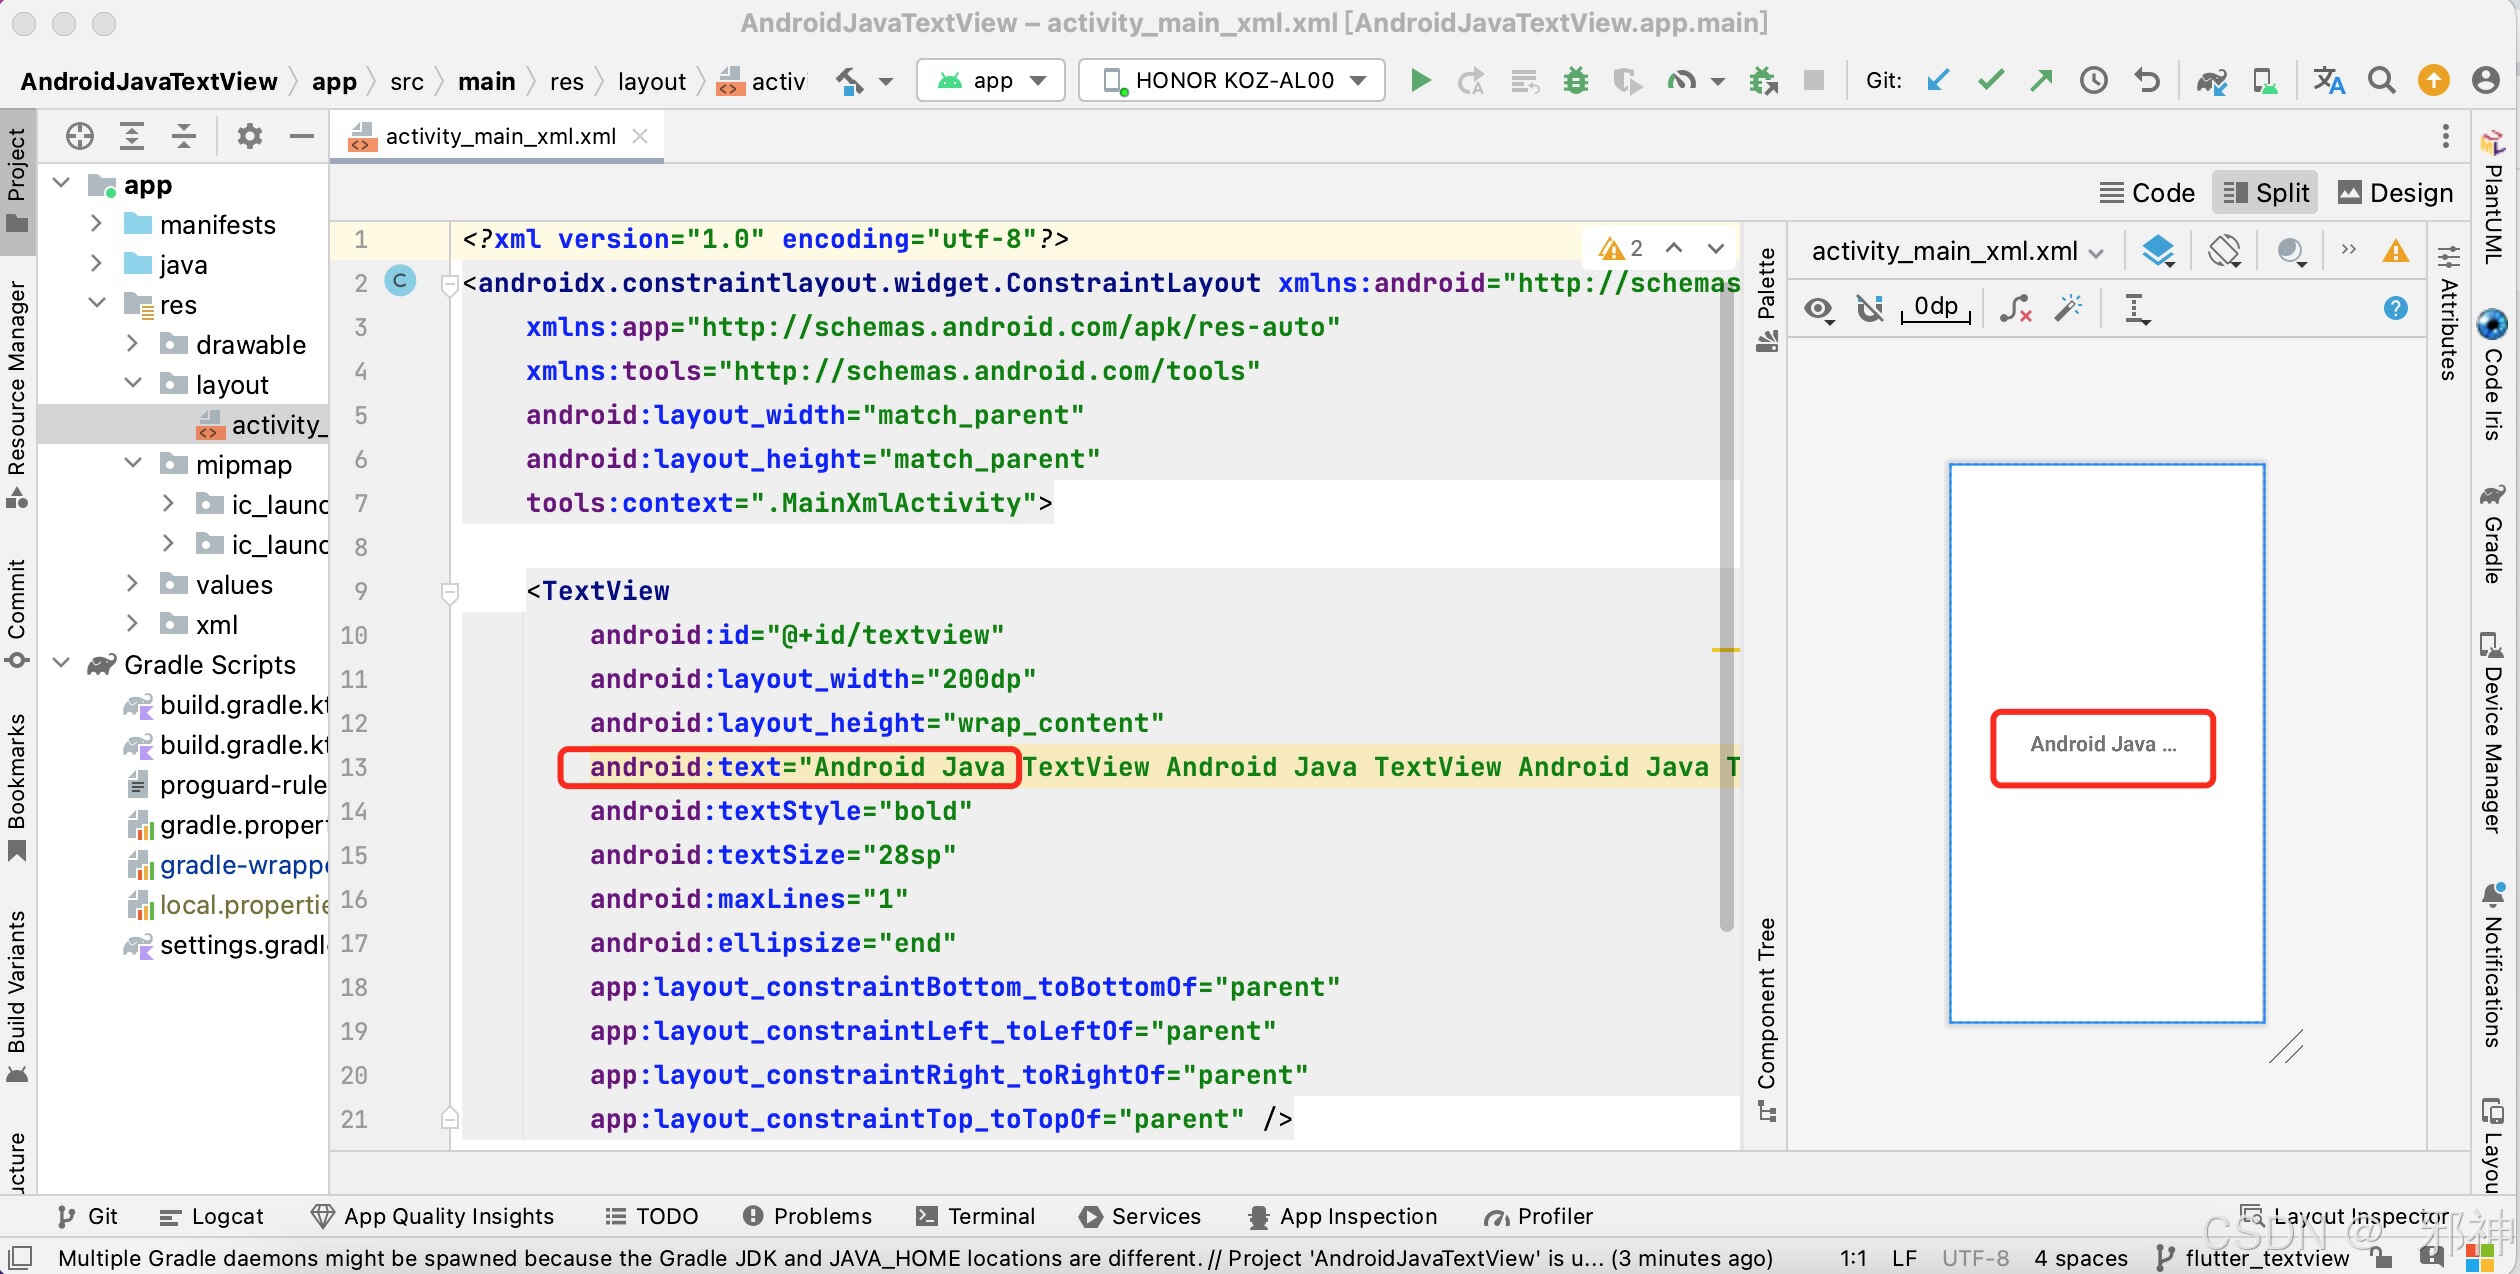
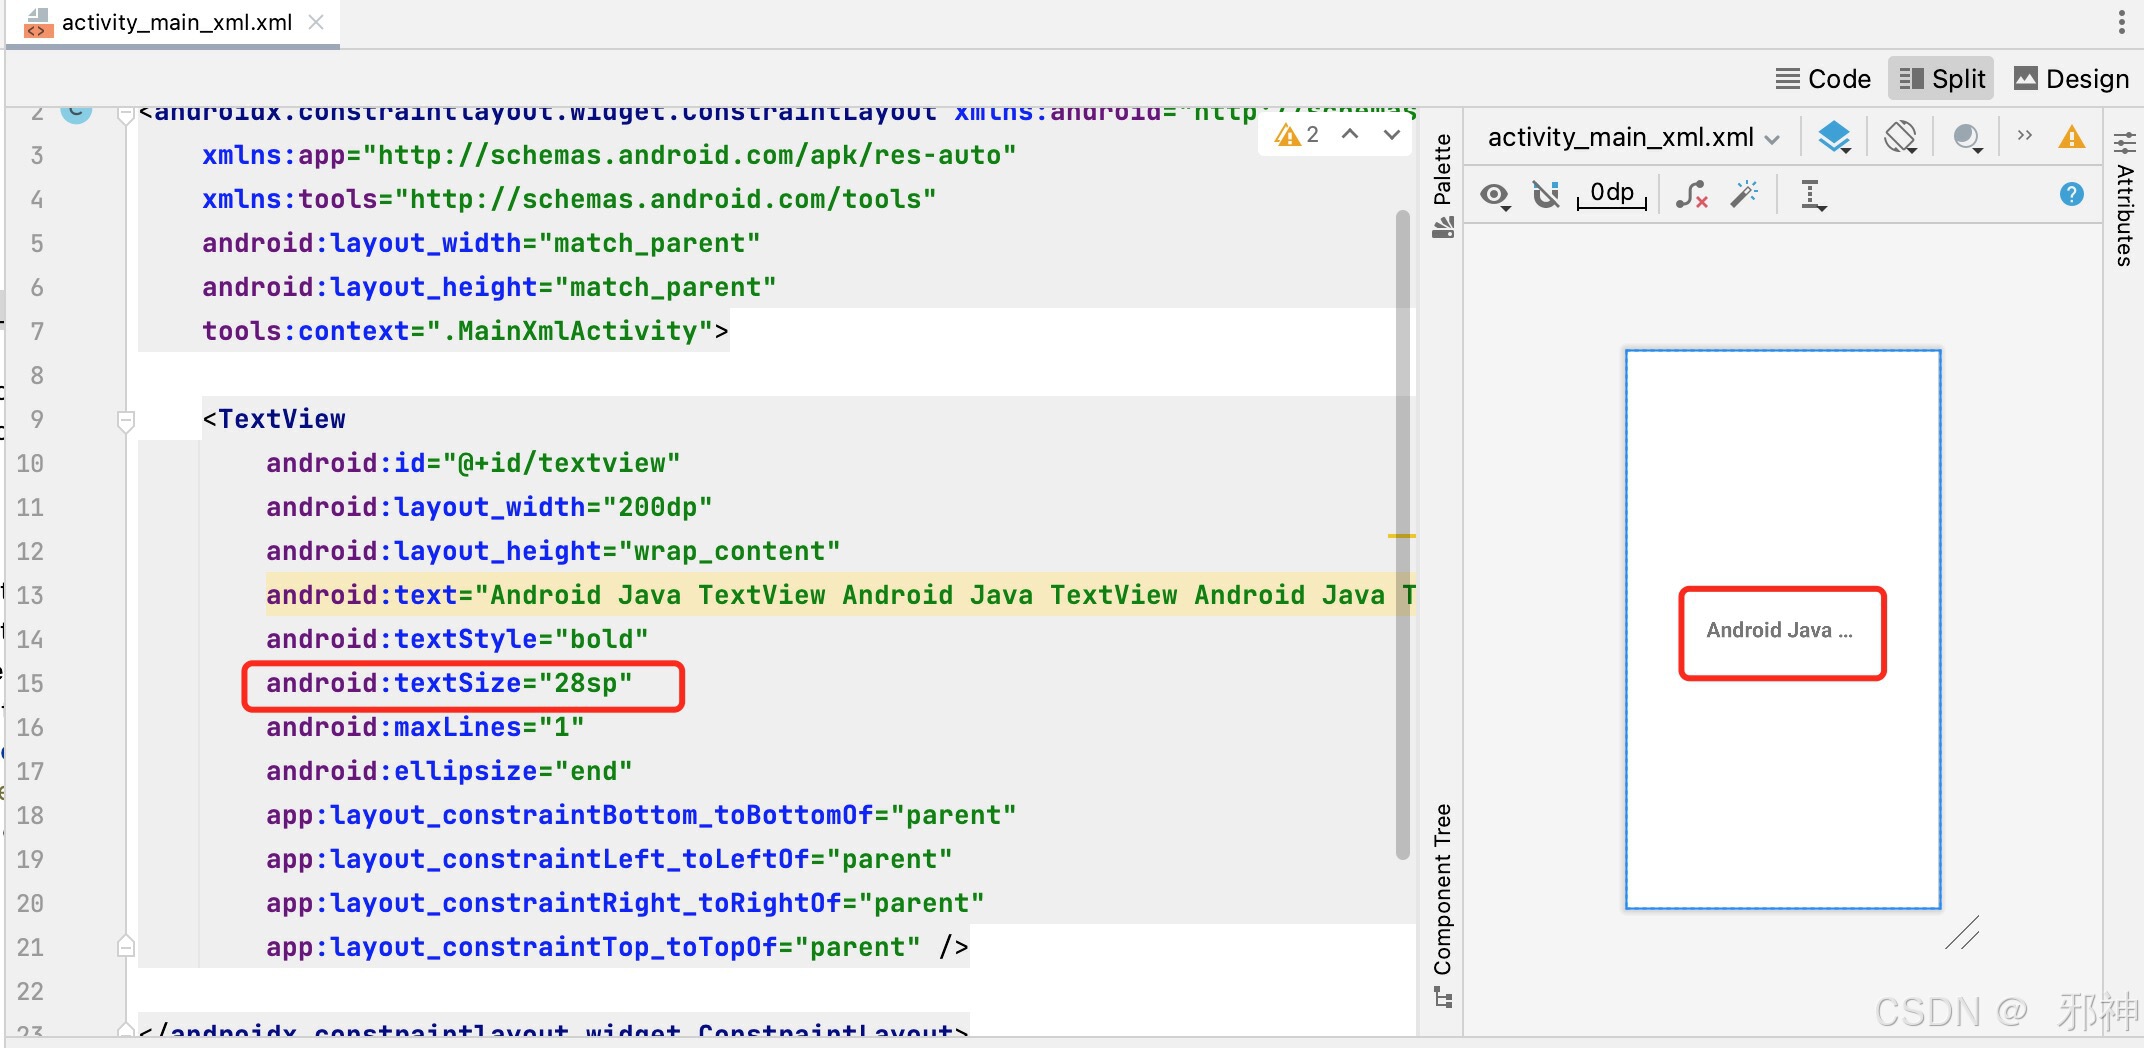
android:textSize
<TextViewandroid:id="@+id/textview"android:layout_width="wrap_content"android:layout_height="wrap_content"android:text="Android Java TextView"android:textSize="28sp"app:layout_constraintBottom_toBottomOf="parent"app:layout_constraintLeft_toLeftOf="parent"app:layout_constraintRight_toRightOf="parent"app:layout_constraintTop_toTopOf="parent" />
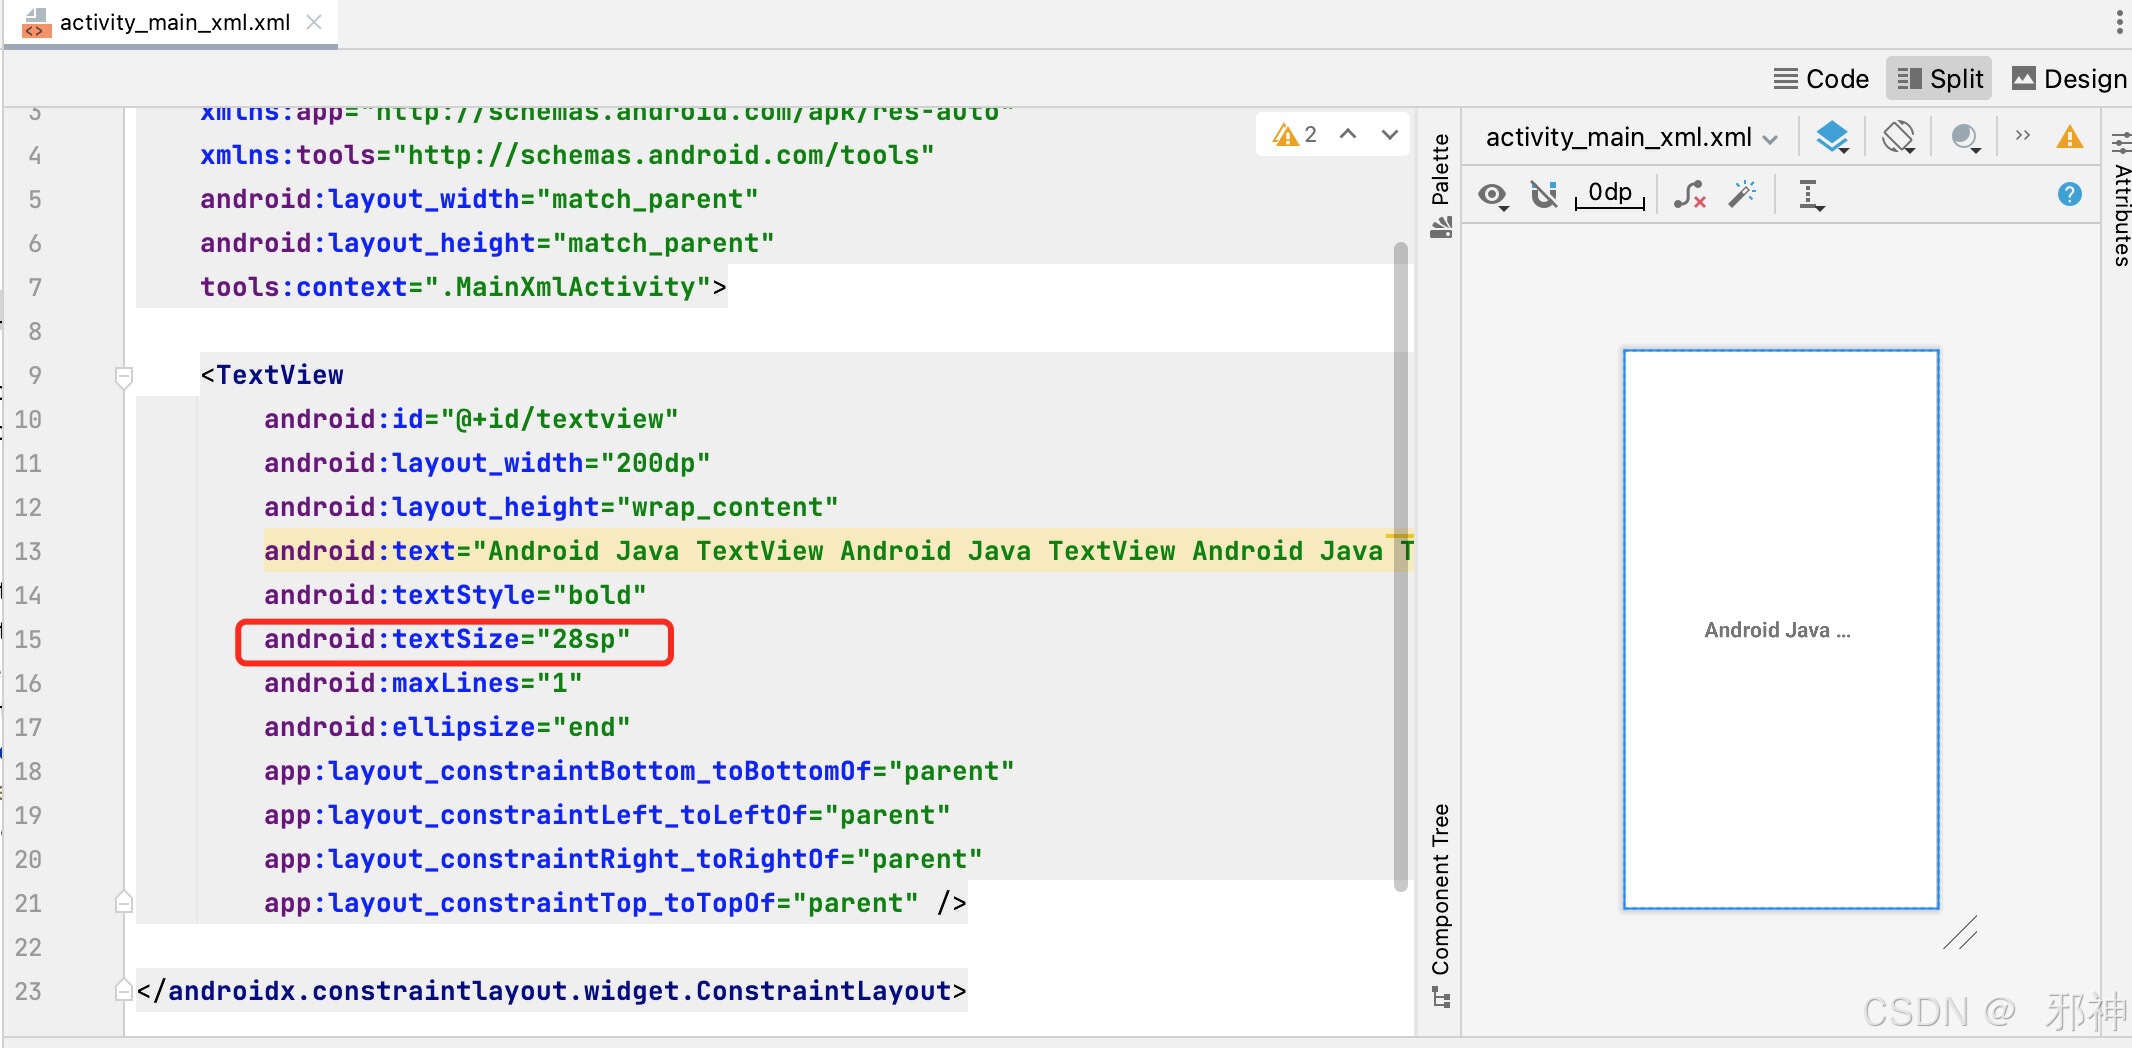
android:textStyle
<TextViewandroid:id="@+id/textview"android:layout_width="wrap_content"android:layout_height="wrap_content"android:text="Android Java TextView"android:textStyle="bold"android:textSize="28sp"app:layout_constraintBottom_toBottomOf="parent"app:layout_constraintLeft_toLeftOf="parent"app:layout_constraintRight_toRightOf="parent"app:layout_constraintTop_toTopOf="parent" />
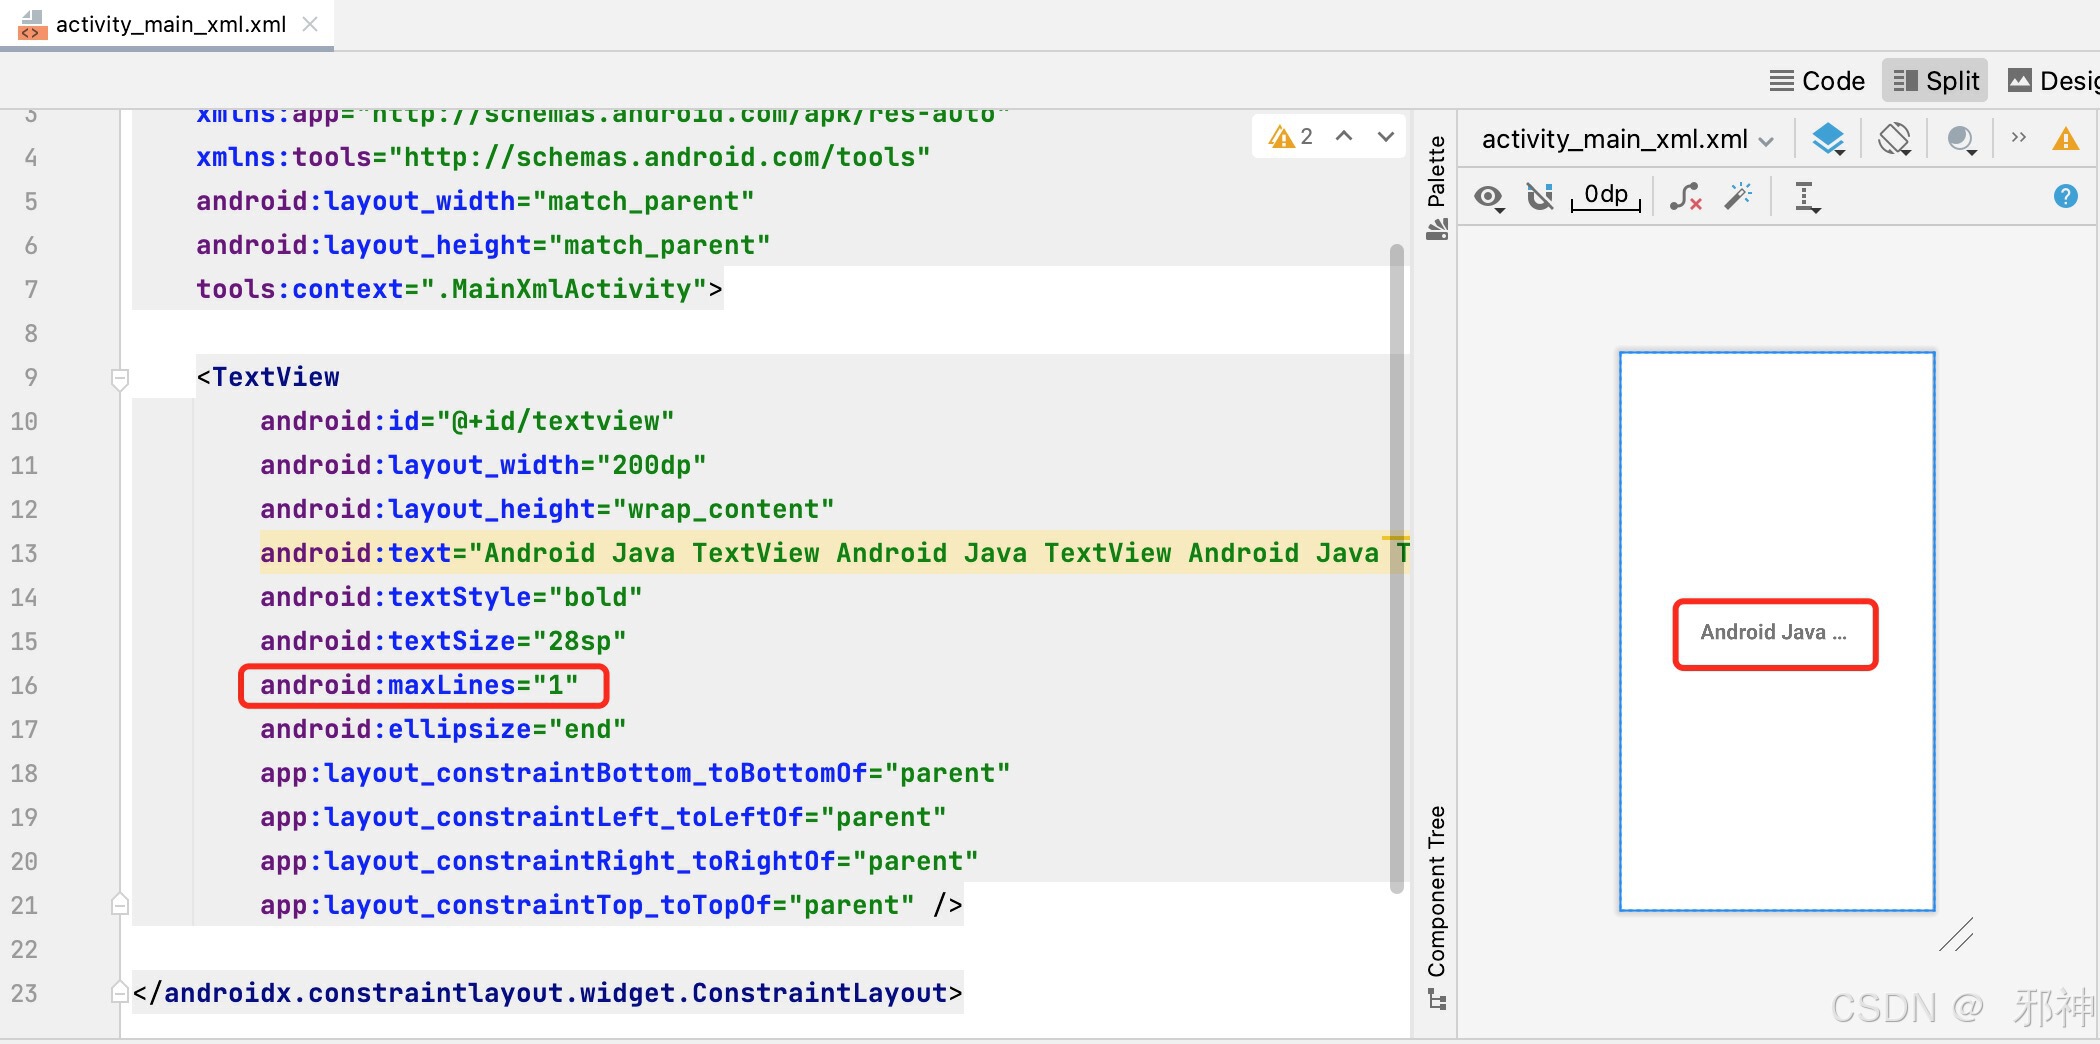
文本显示一行
<TextViewandroid:id="@+id/textview"android:layout_width="200dp"android:layout_height="wrap_content"android:text="Android Java TextView Android Java TextView Android Java TextView"android:textStyle="bold"android:textSize="28sp"android:maxLines="1"android:ellipsize="end"app:layout_constraintBottom_toBottomOf="parent"app:layout_constraintLeft_toLeftOf="parent"app:layout_constraintRight_toRightOf="parent"app:layout_constraintTop_toTopOf="parent" />
Compose 布局 参考
build.gradle下面配置


导入依赖包:
import androidx.compose.runtime.Composable
import androidx.compose.ui.tooling.preview.Preview
class MainComposeActivity : ComponentActivity() {override fun onCreate(savedInstanceState: Bundle?) {super.onCreate(savedInstanceState)setContent { showTextView() }}
}@Preview
@Composable
private fun showTextView() {Text(text = "Android Compose TextView",fontSize = 28.sp,fontStyle = FontStyle.Italic)
}
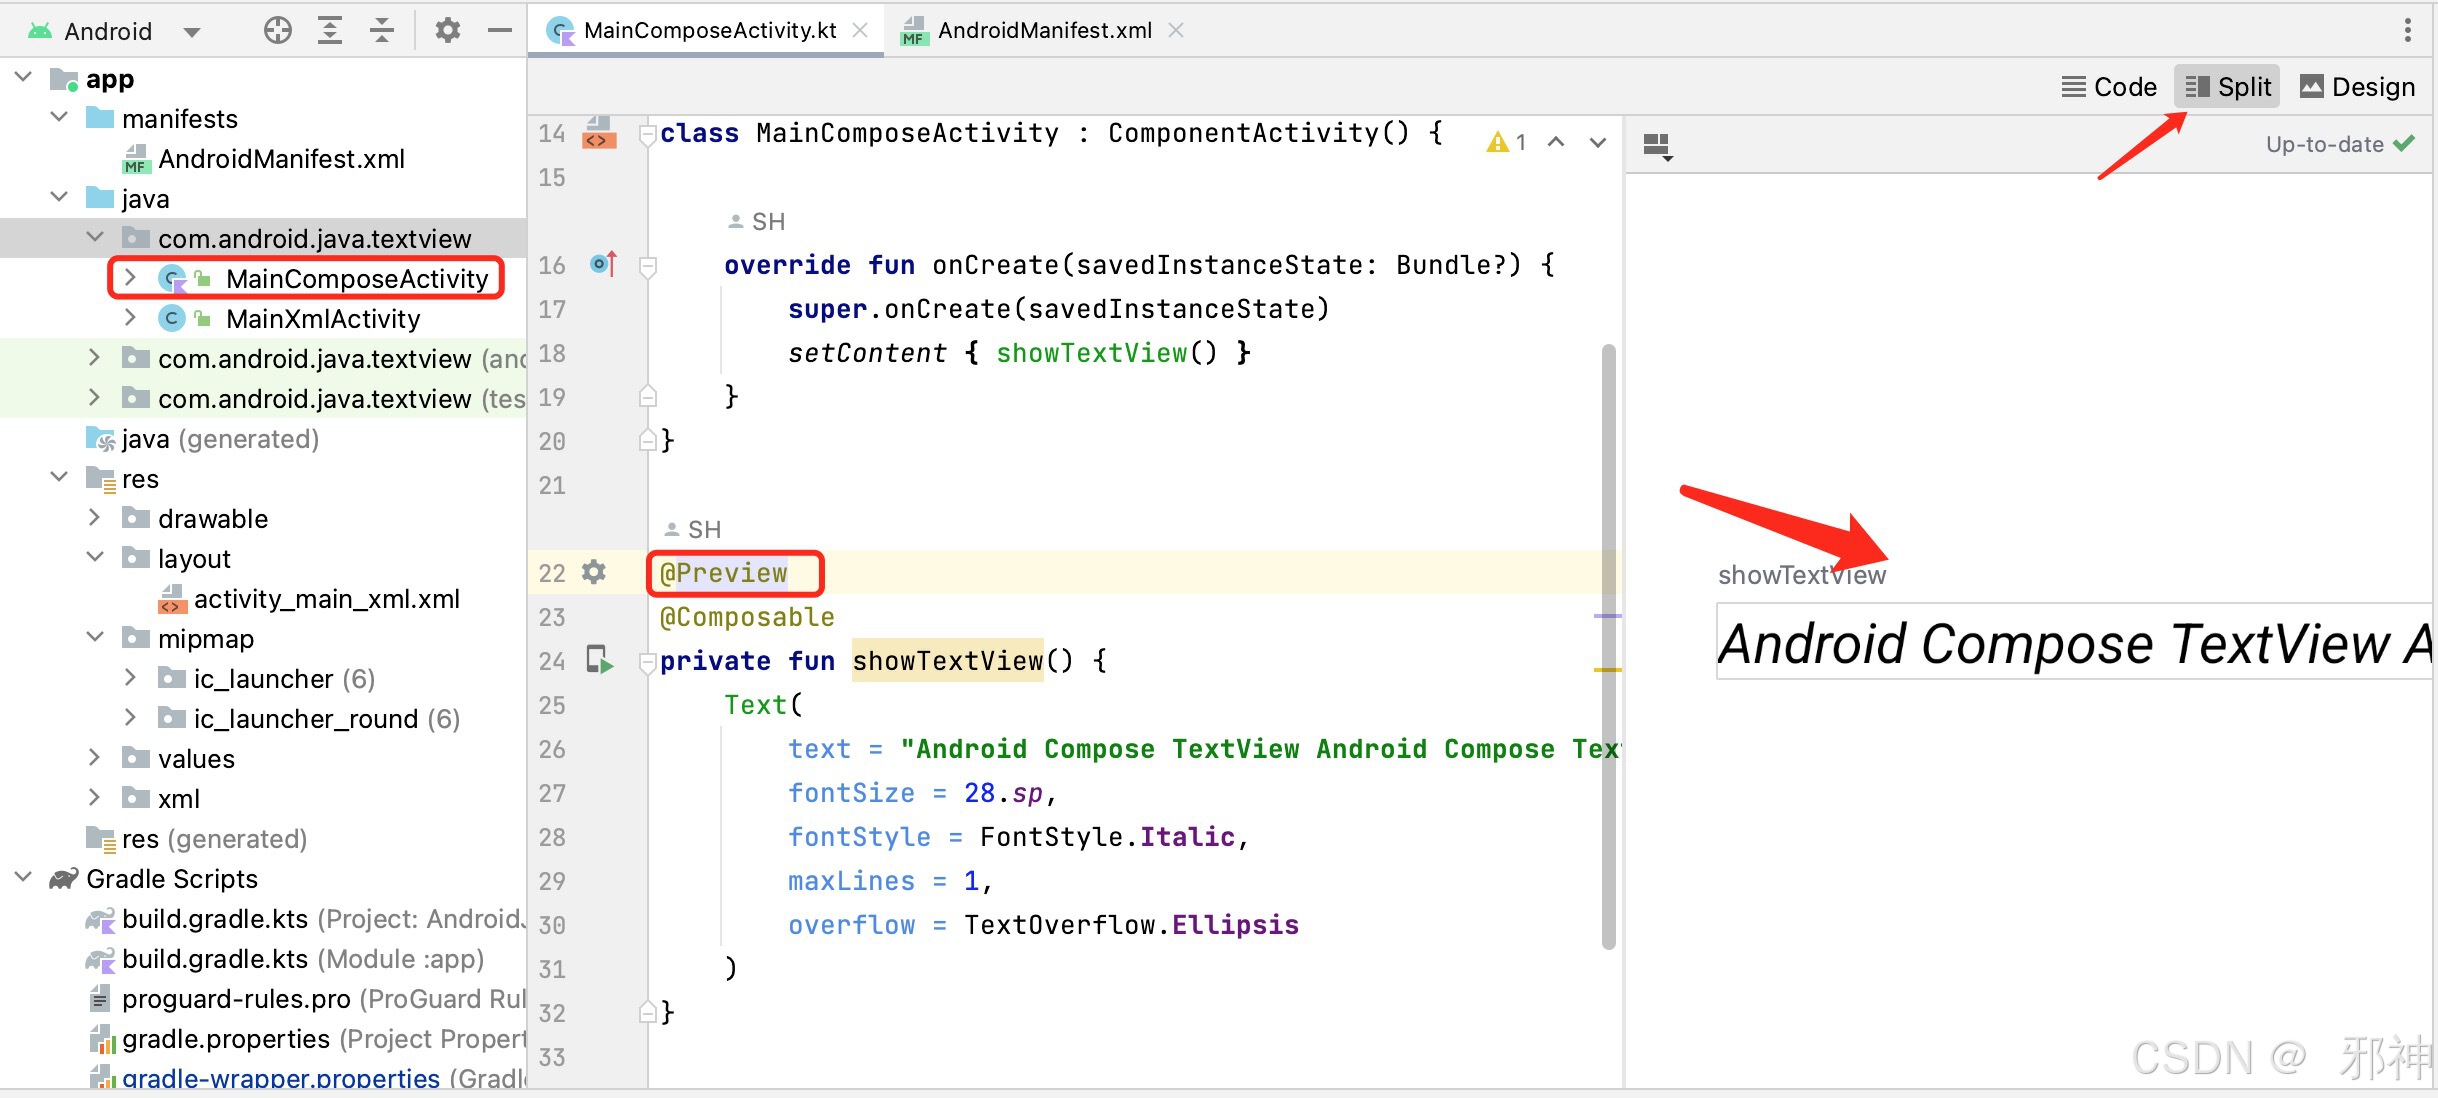
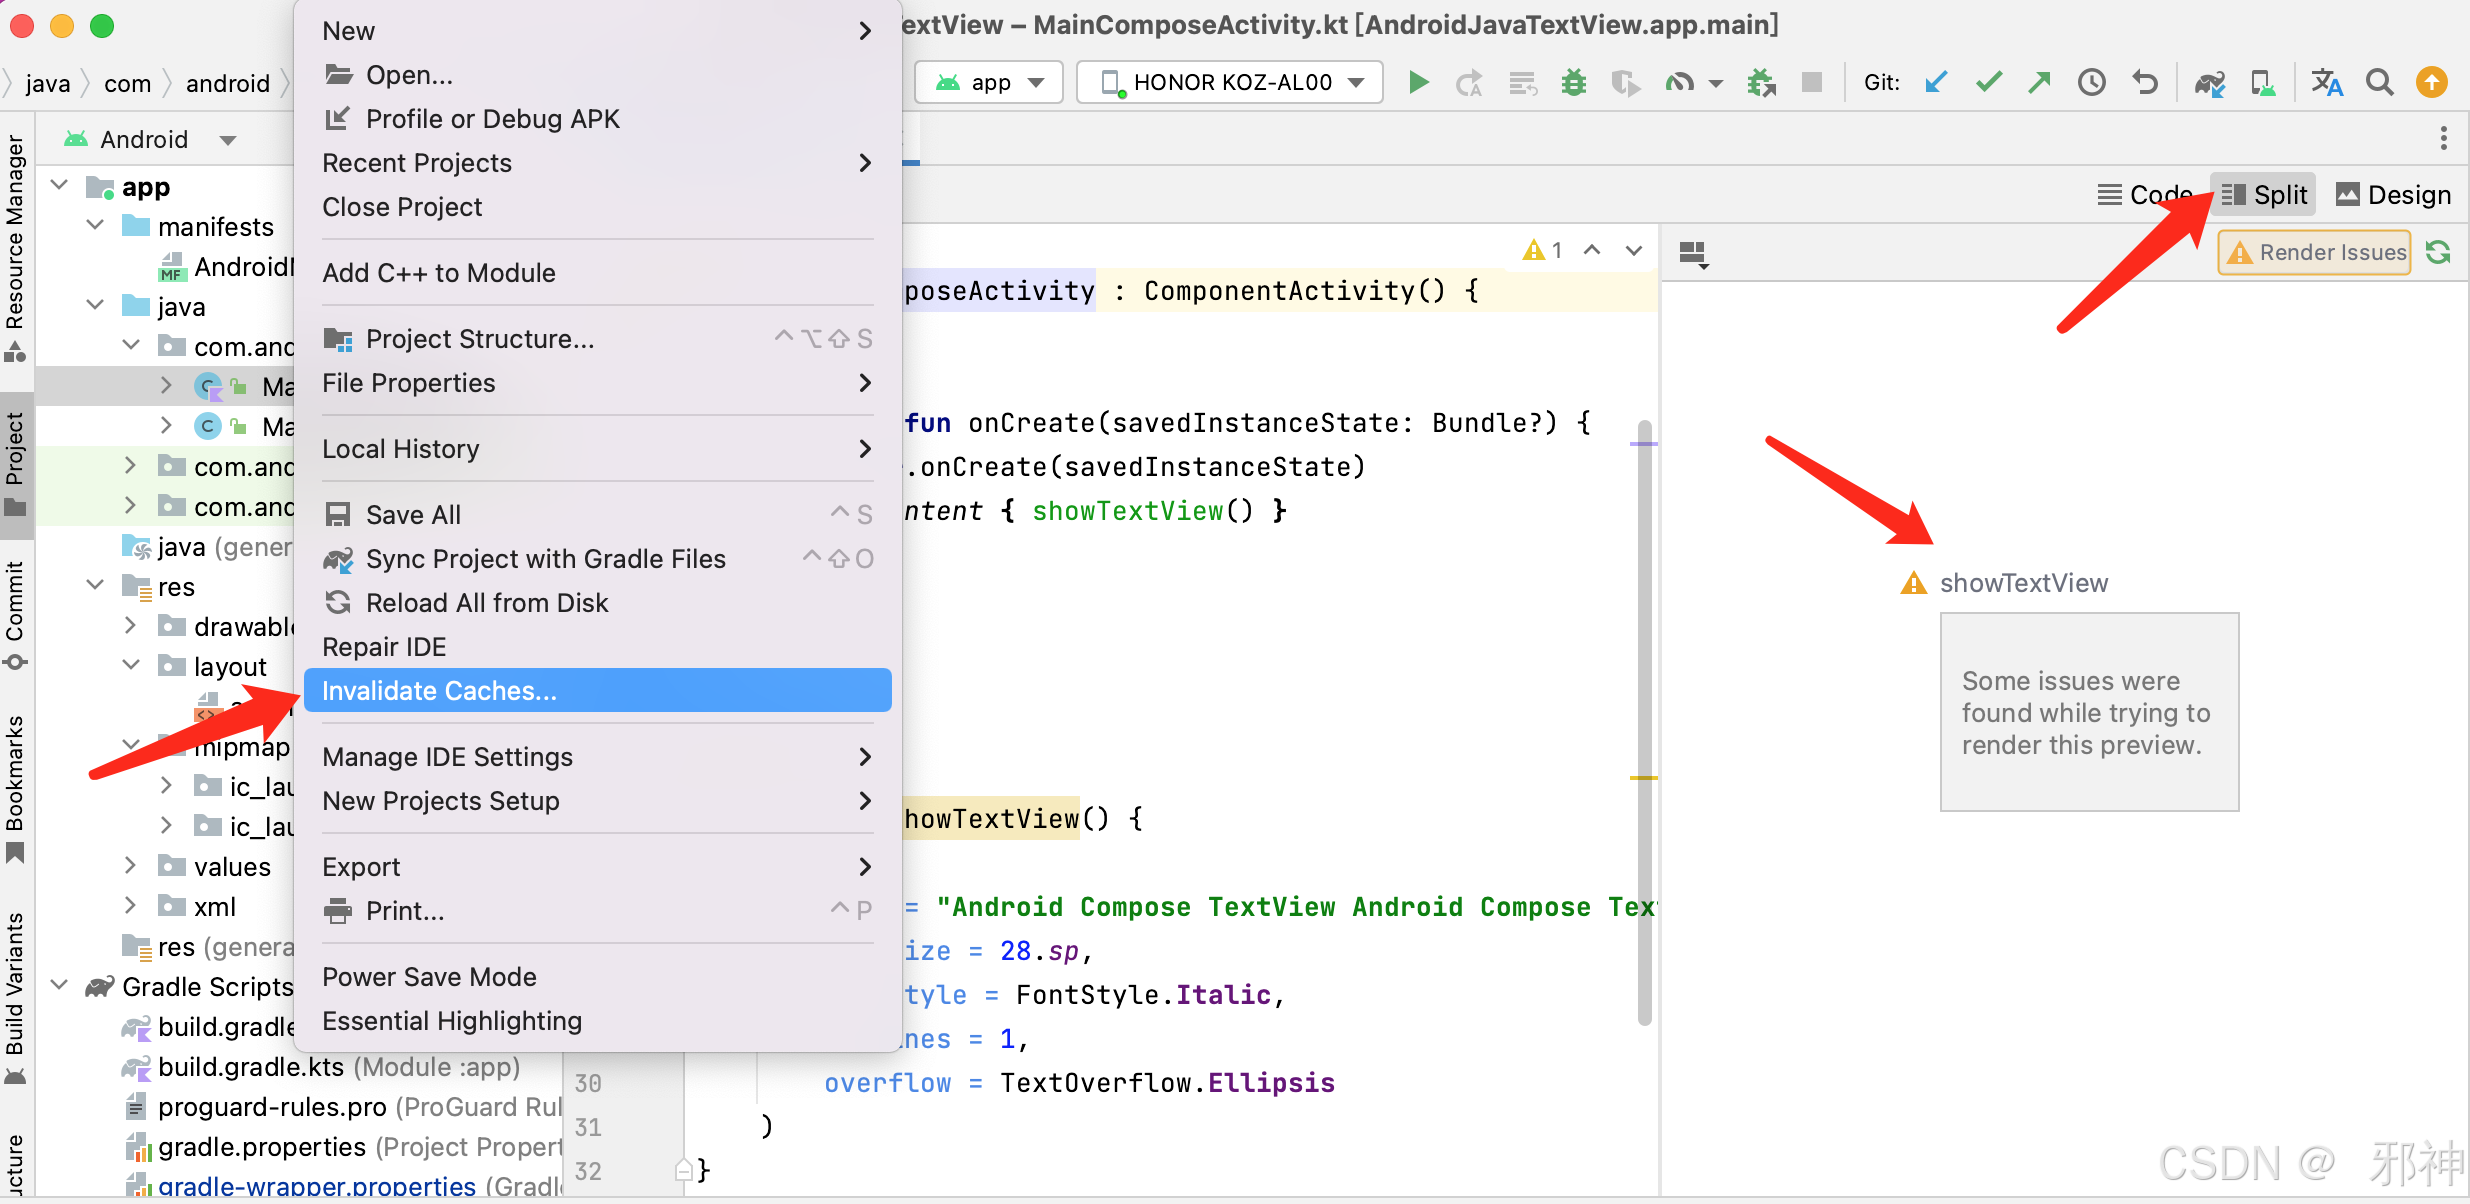
解决无法预览Preview
通过 Android Studio 工具执行 Invalidate Caches
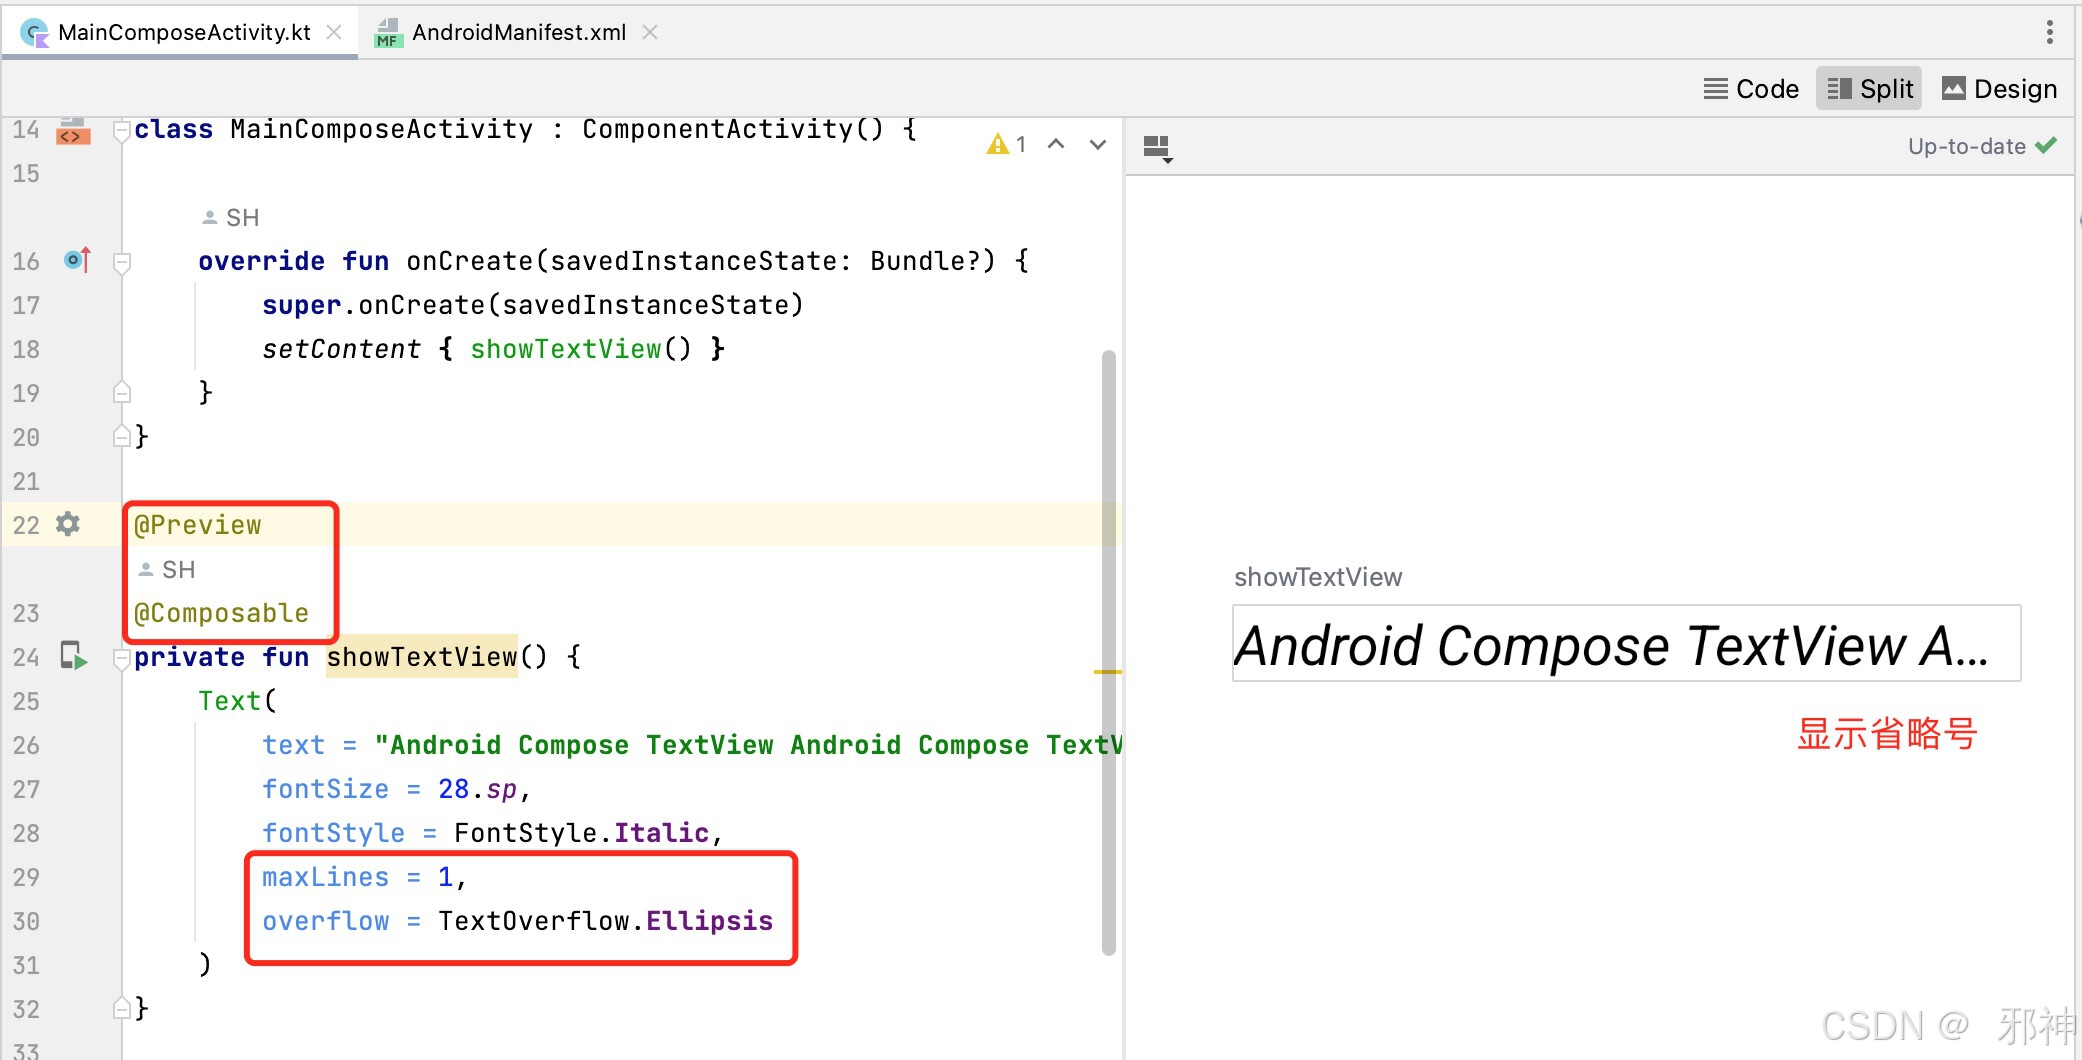
文本显示一行
Text(text = "Android Compose TextView Android Compose TextView Android Compose TextView ",fontSize = 28.sp,fontStyle = FontStyle.Italic,maxLines = 1,overflow = TextOverflow.Ellipsis
)
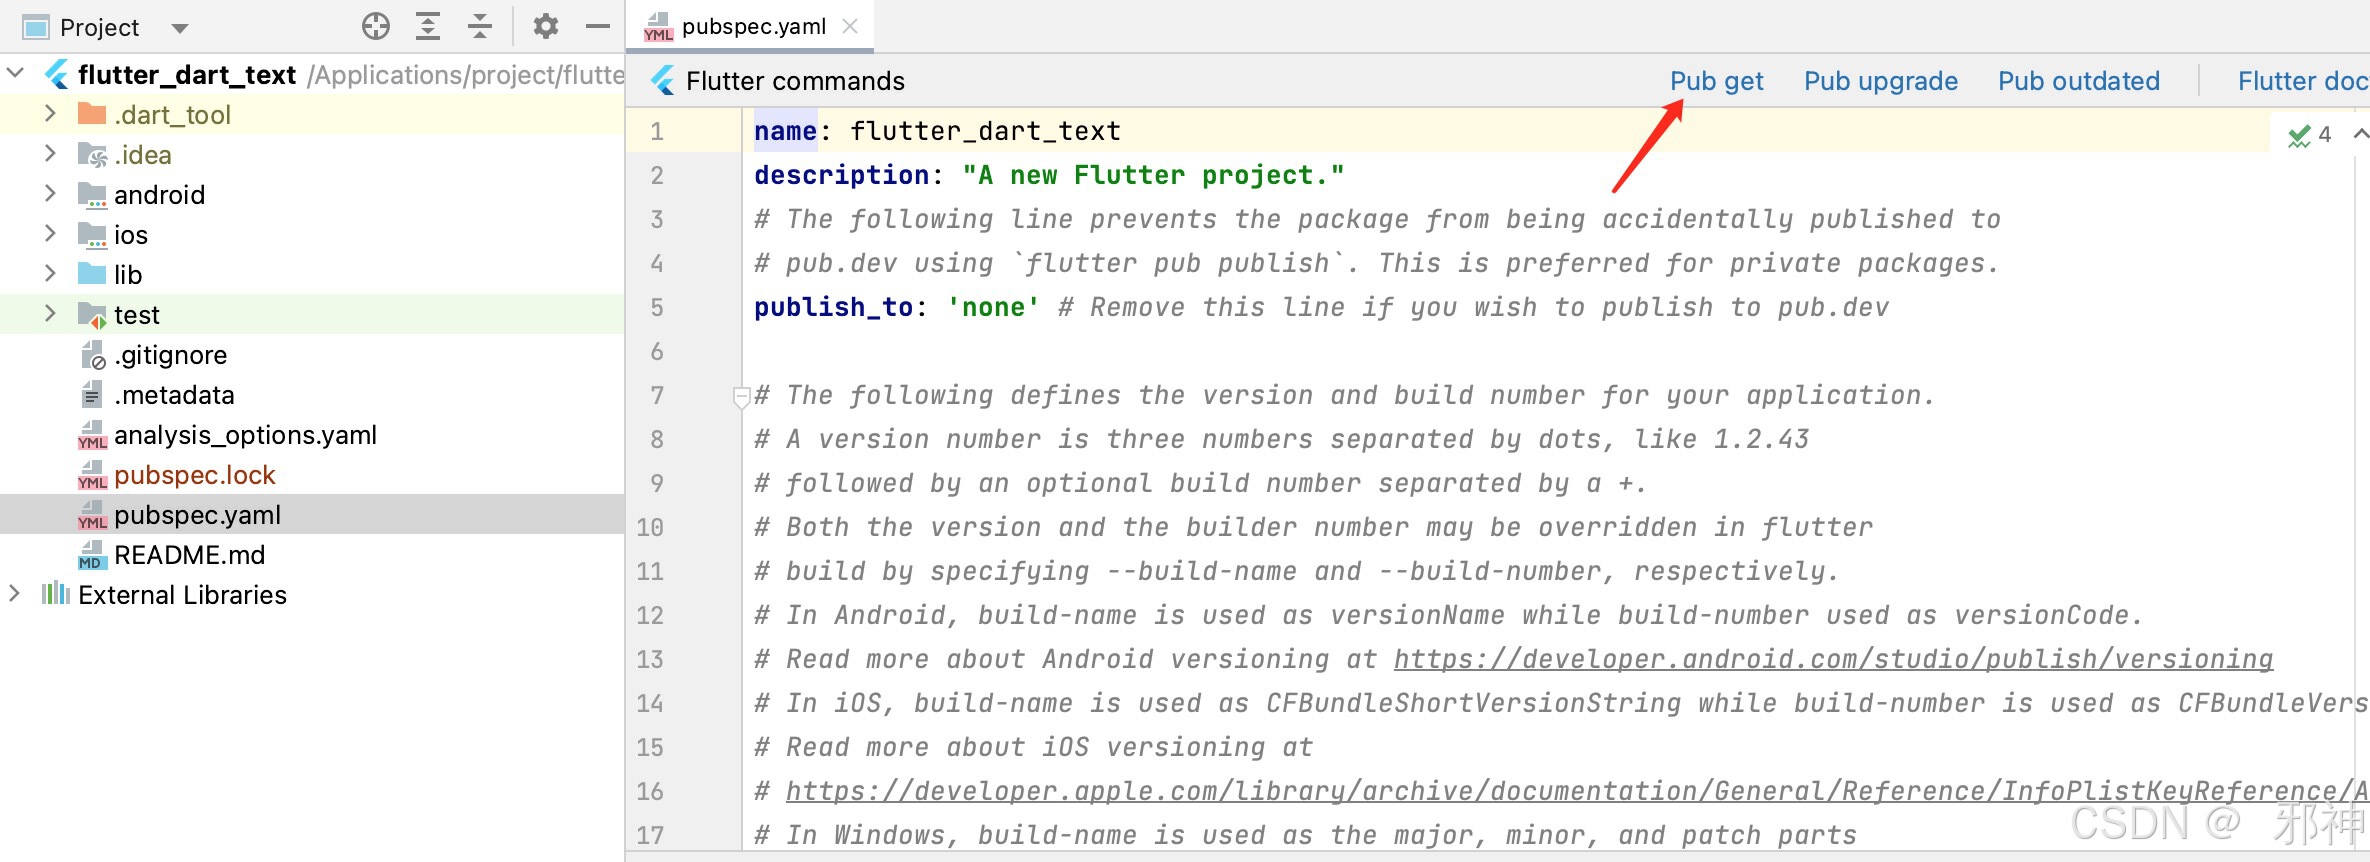
Flutter 布局 参考
Text('Flutter Dart TextView',style: TextStyle(fontSize: 12.sp, fontWeight: FontWeight.bold),
),
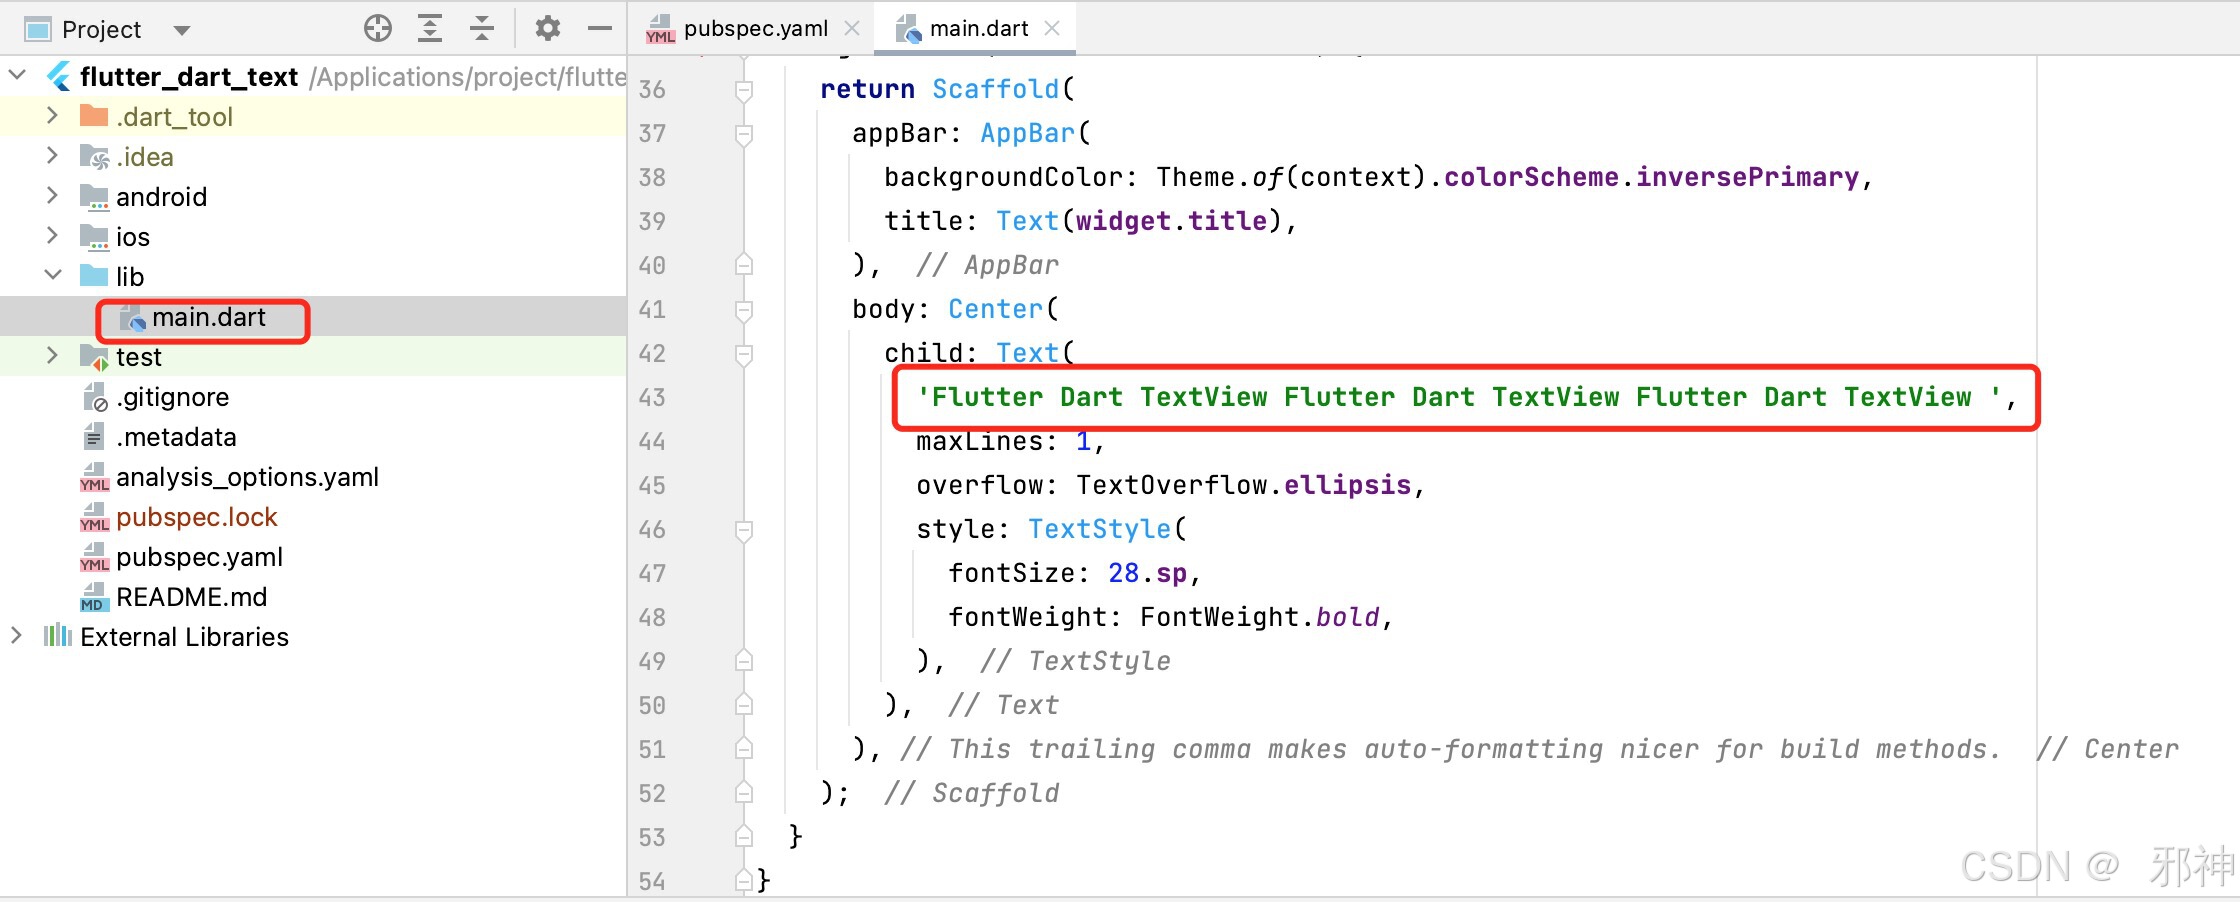
显示一行文本
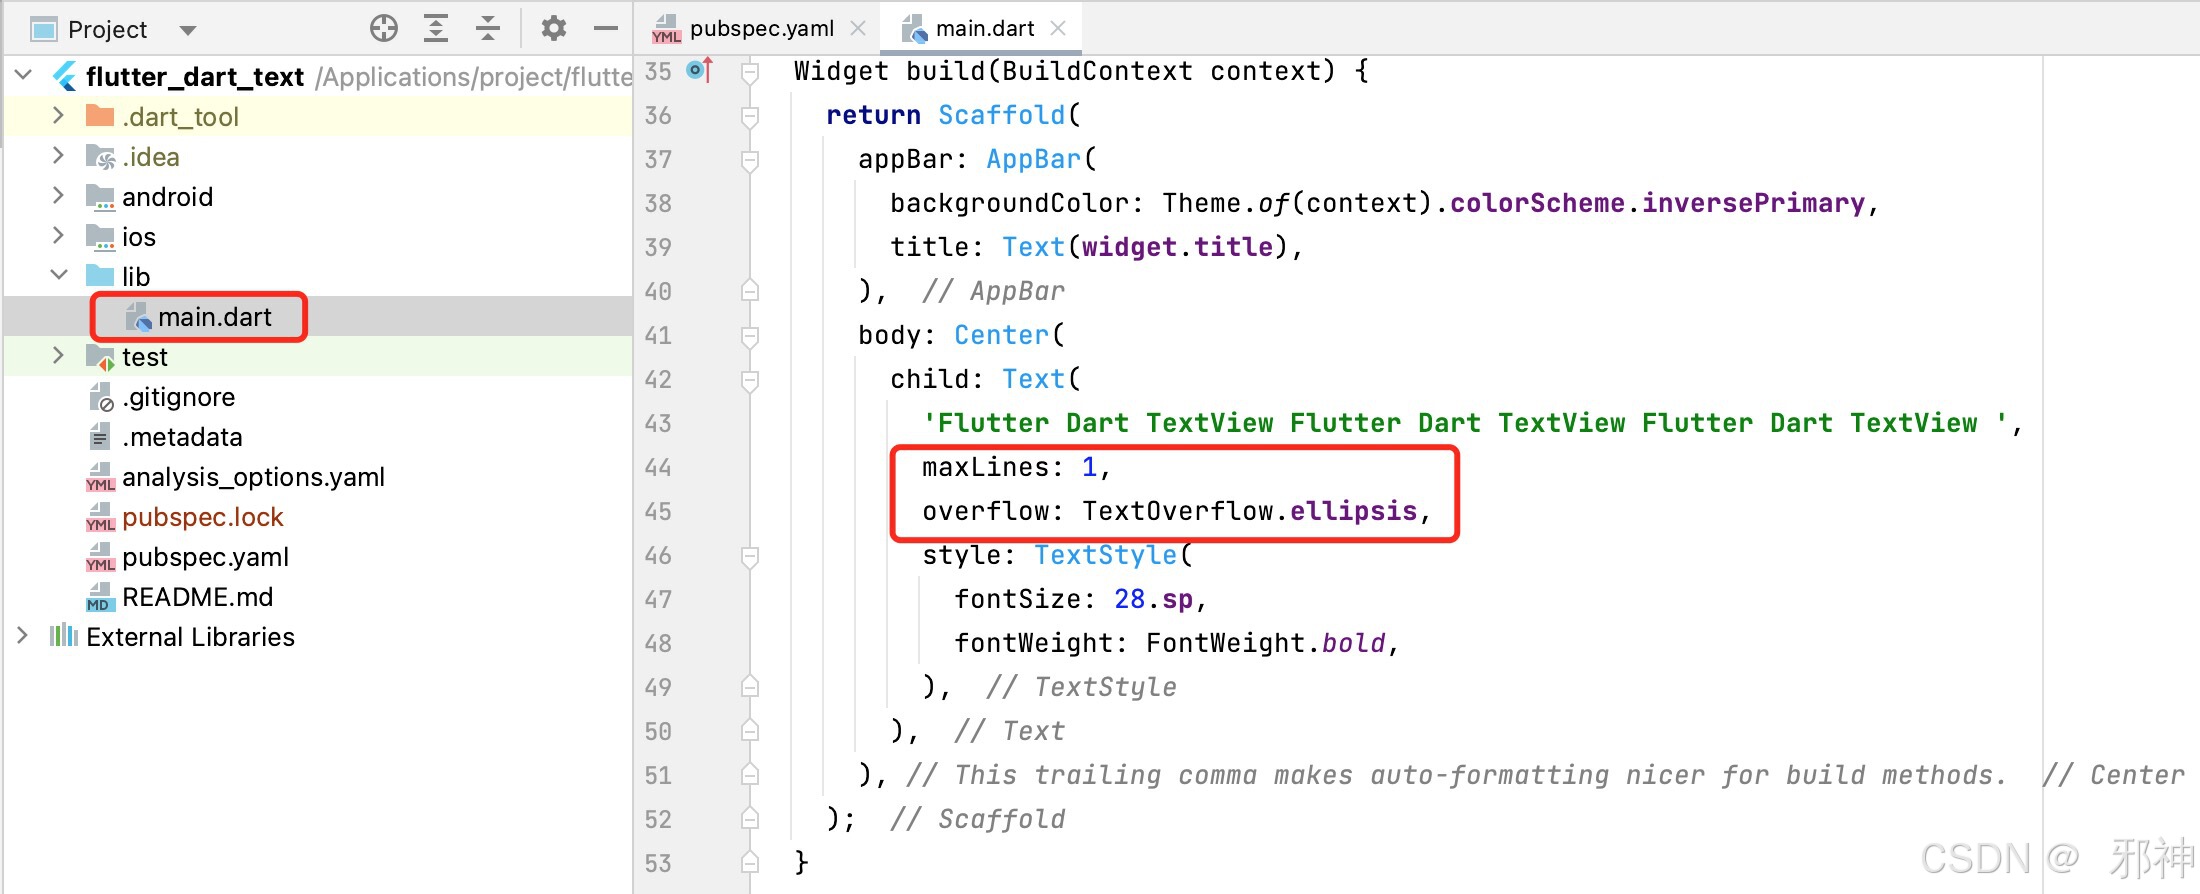
Text('Flutter Dart TextView Flutter Dart TextView Flutter Dart TextView ',maxLines: 1,overflow: TextOverflow.ellipsis,style: TextStyle(fontSize: 28.sp,fontWeight: FontWeight.bold,),
)
HarmonyOS布局 参考
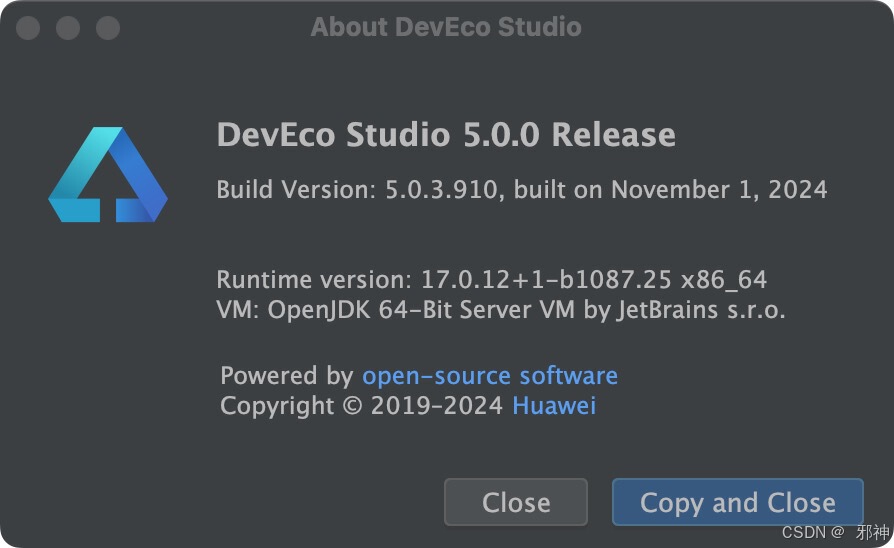
DevEco Studio版本
显示文本
Text(this.message).fontSize(50).fontWeight(FontWeight.Bold)
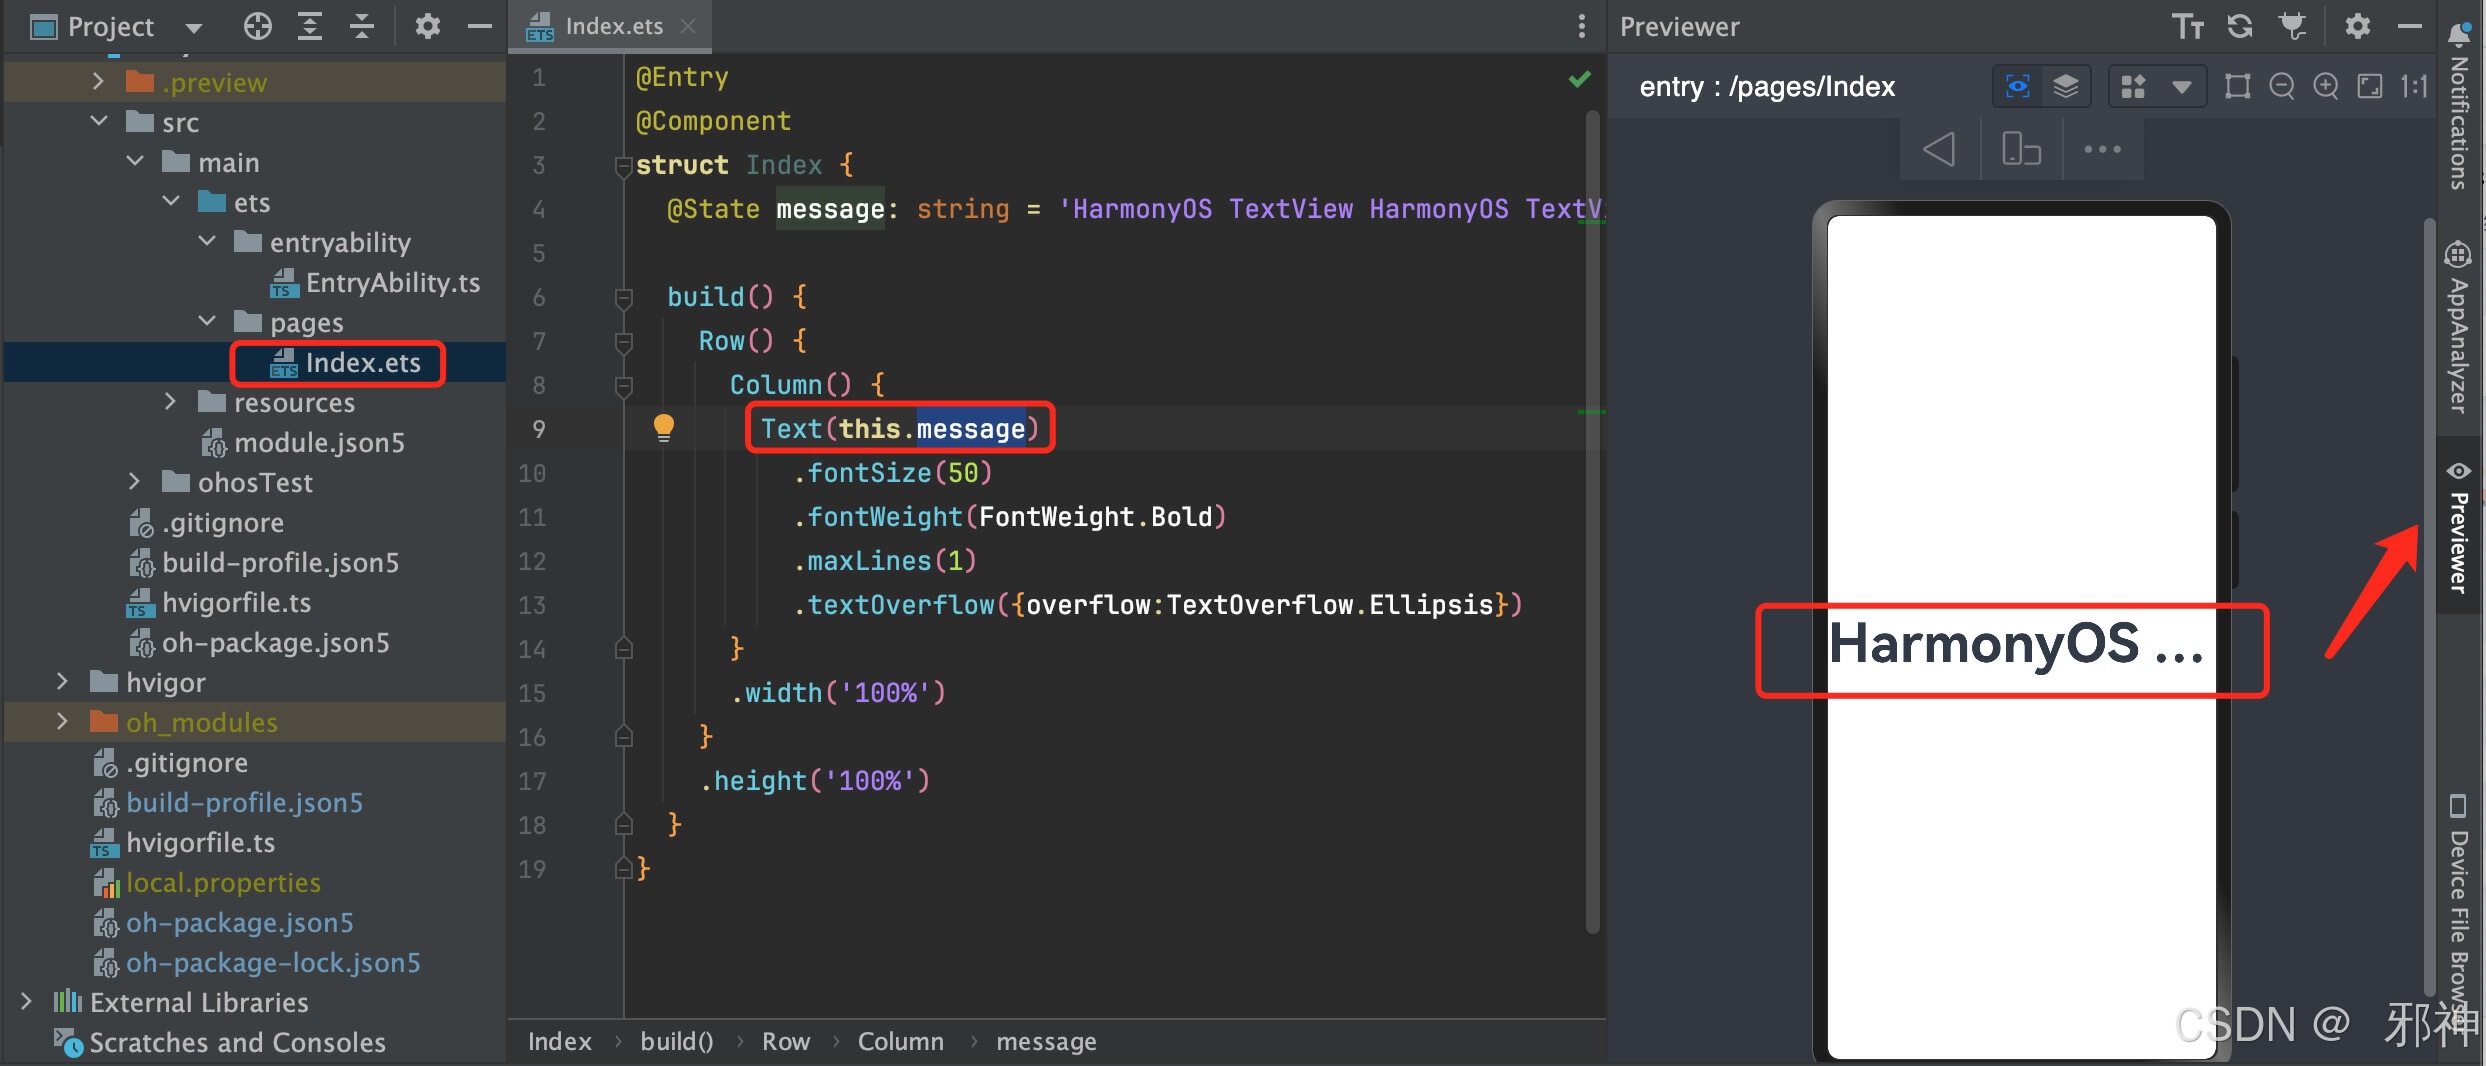
预览Previewer 问题
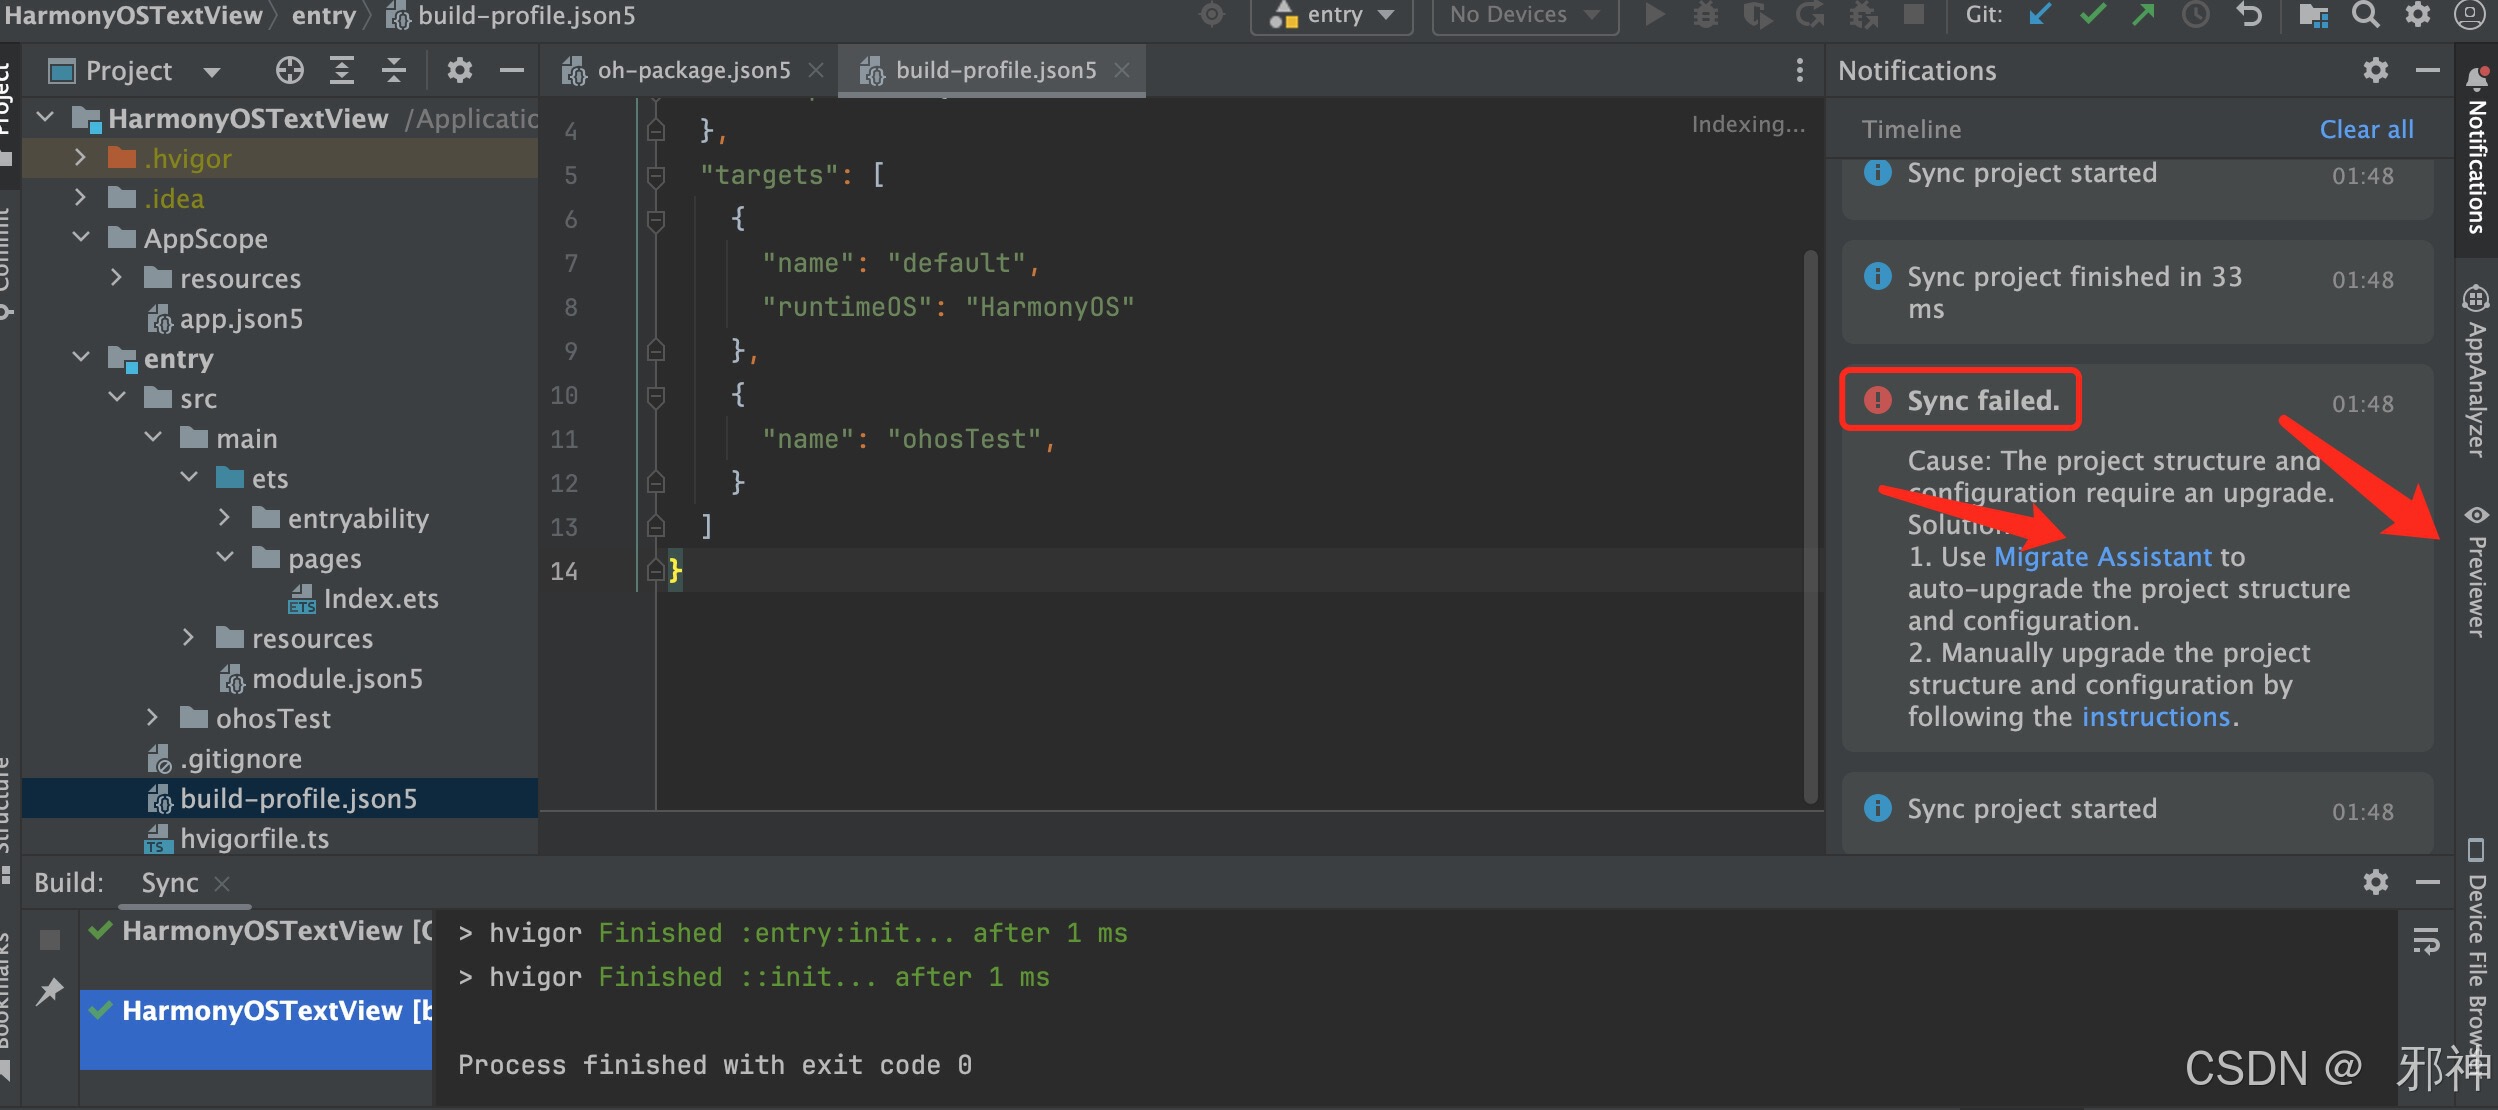
显示一行文本
Text(this.message).fontSize(50).fontWeight(FontWeight.Bold).maxLines(1).textOverflow({overflow:TextOverflow.Ellipsis})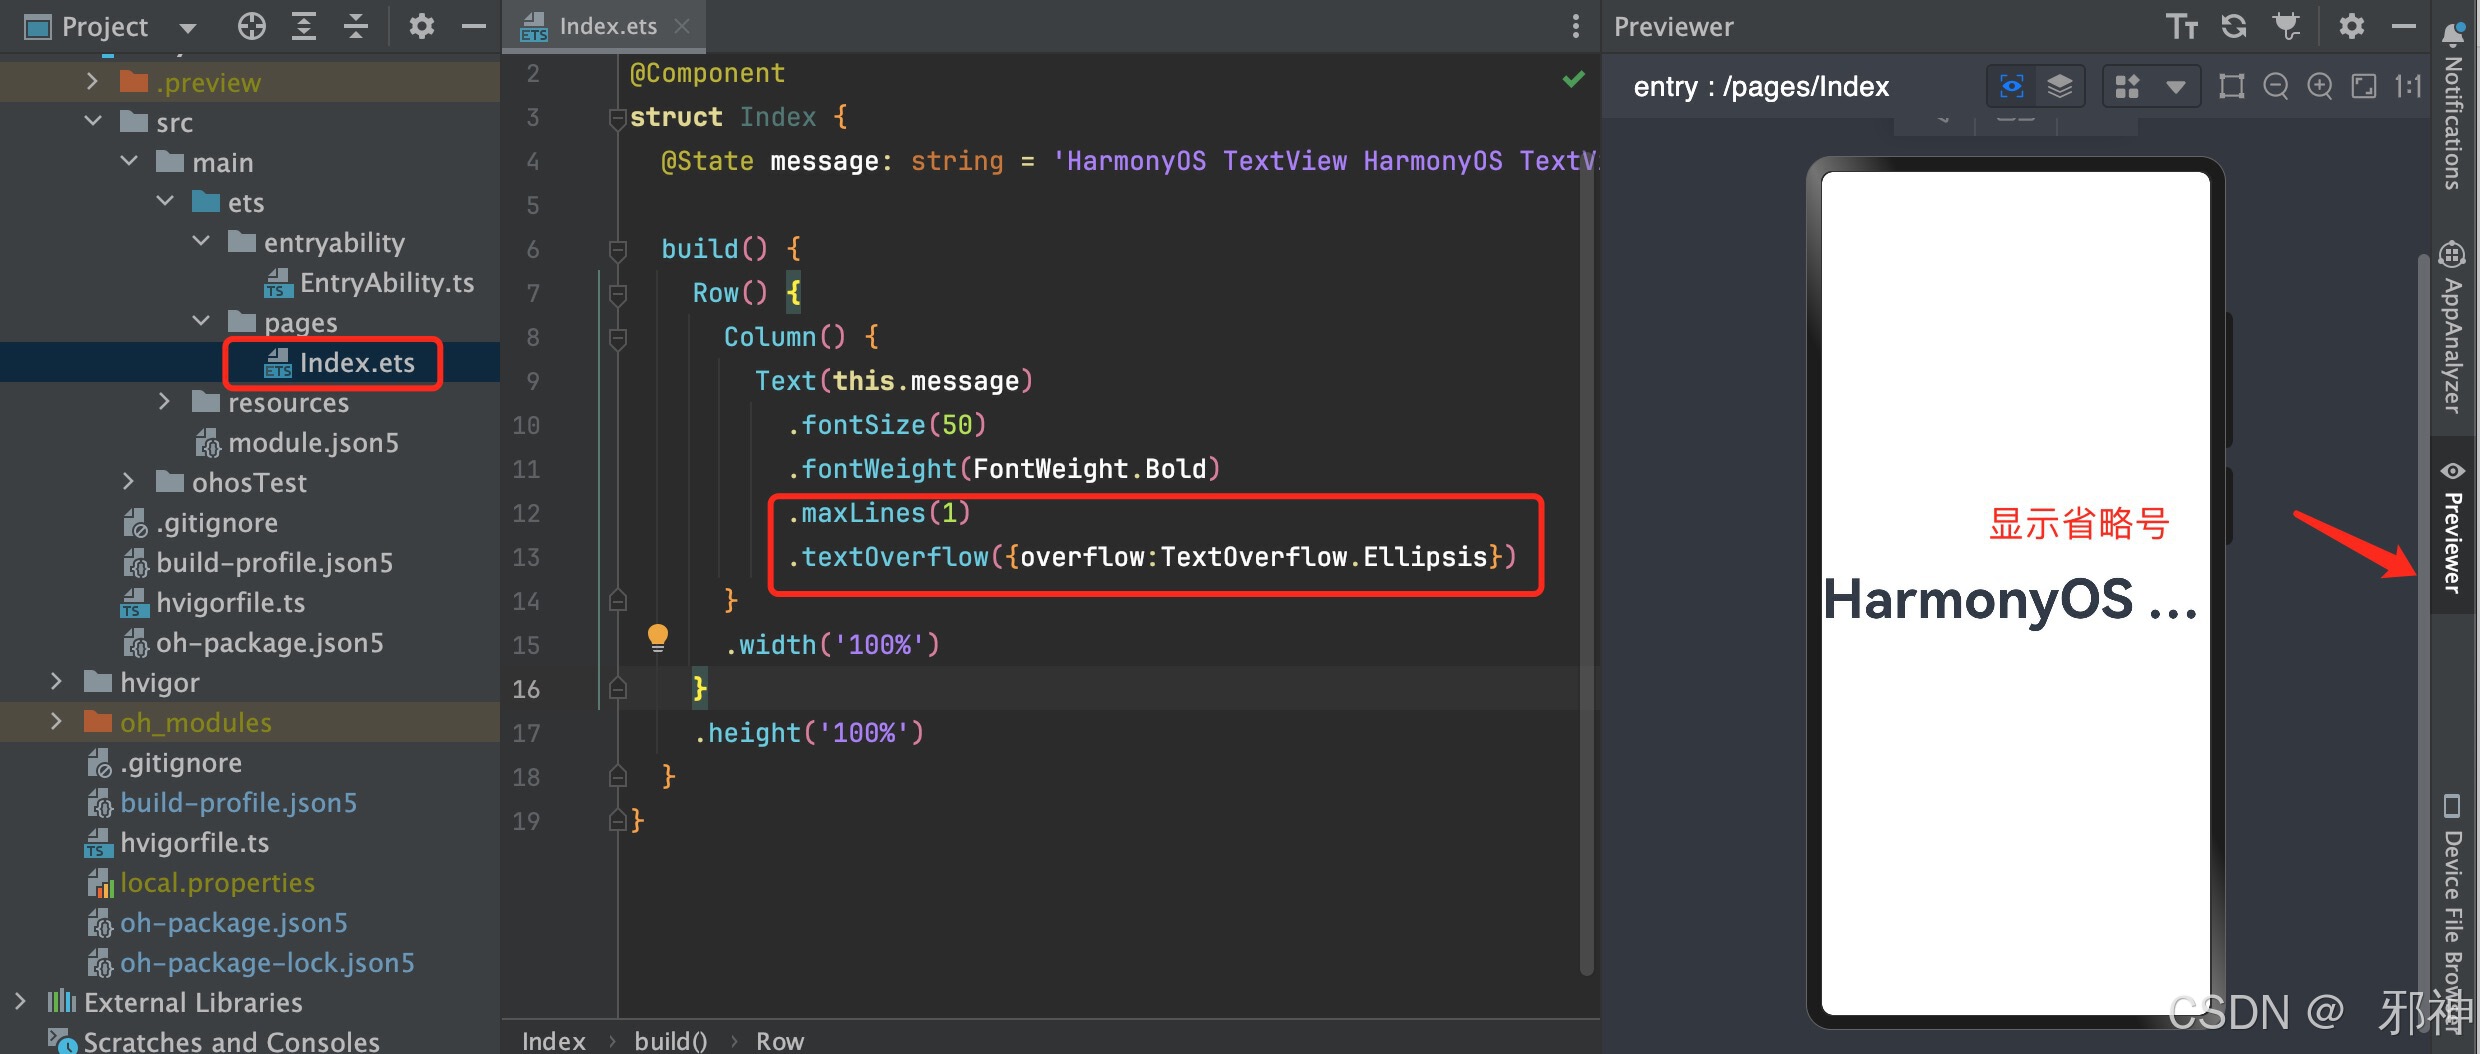
IOS Object-c 布局 参考
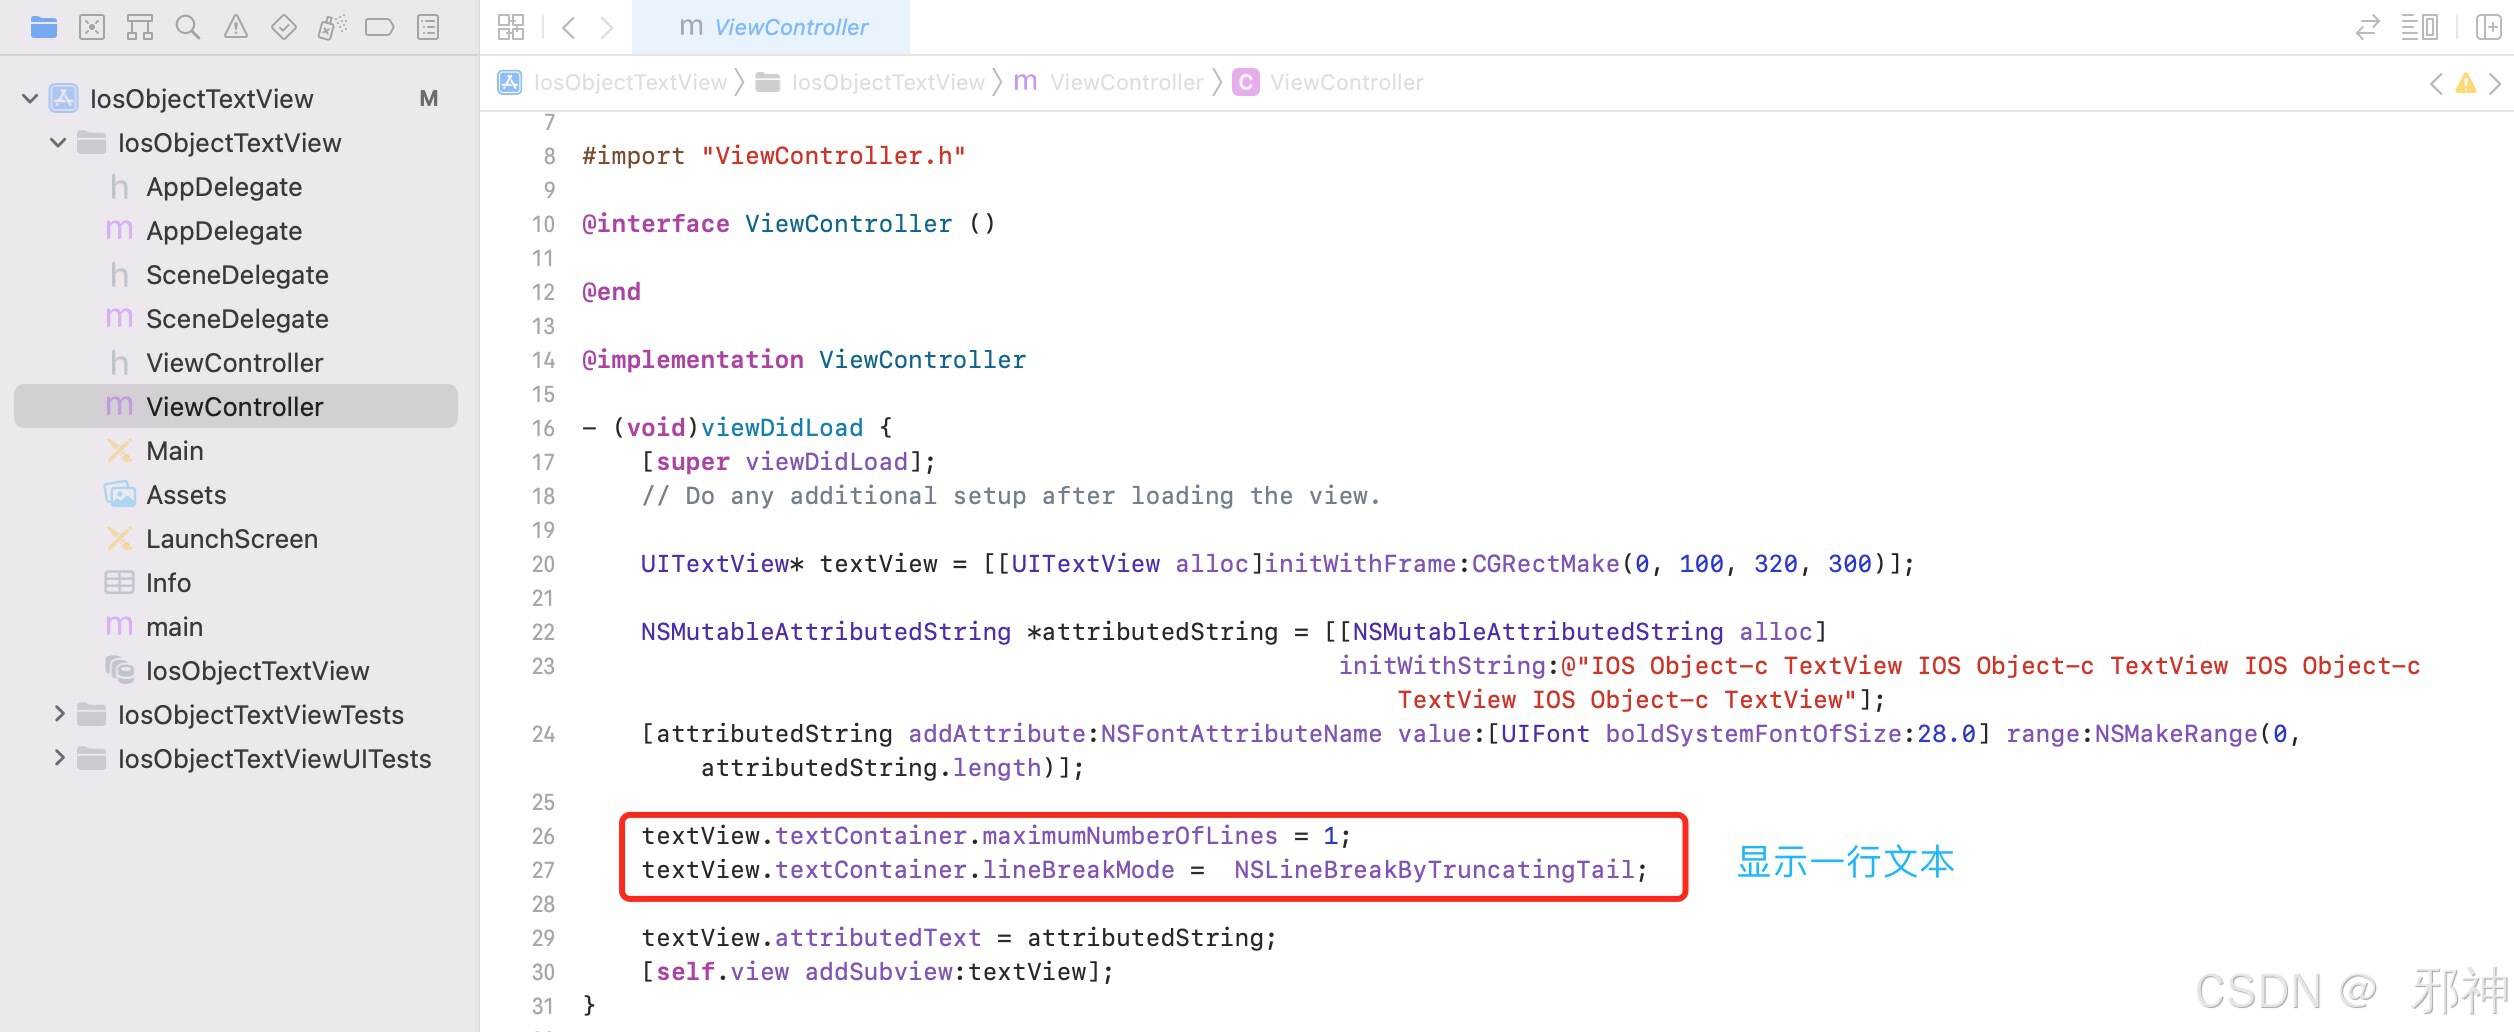
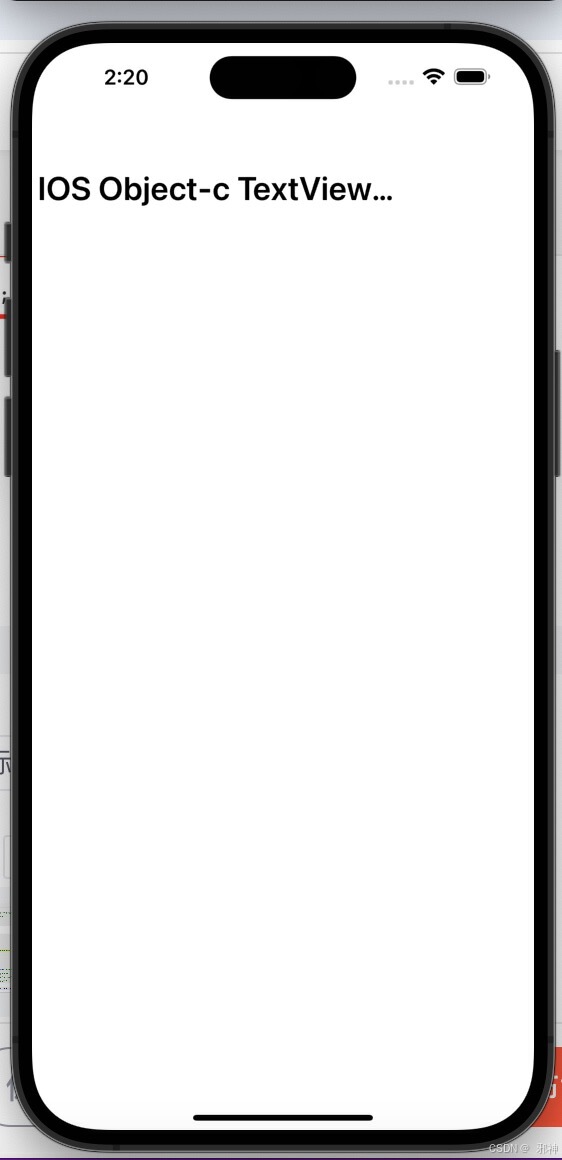
显示一行文本
#import "ViewController.h"@interface ViewController ()@end@implementation ViewController- (void)viewDidLoad {[super viewDidLoad];// Do any additional setup after loading the view.UITextView* textView = [[UITextView alloc]initWithFrame:CGRectMake(0, 100, 320, 300)];NSMutableAttributedString *attributedString = [[NSMutableAttributedString alloc]initWithString:@"IOS Object-c TextView IOS Object-c TextView IOS Object-c TextView IOS Object-c TextView"];[attributedString addAttribute:NSFontAttributeName value:[UIFont boldSystemFontOfSize:28.0] range:NSMakeRange(0, attributedString.length)];textView.textContainer.maximumNumberOfLines = 1;textView.textContainer.lineBreakMode =  NSLineBreakByTruncatingTail;textView.attributedText = attributedString;[self.view addSubview:textView];
}@end
IOS Swift 布局 参考
显示一行文本
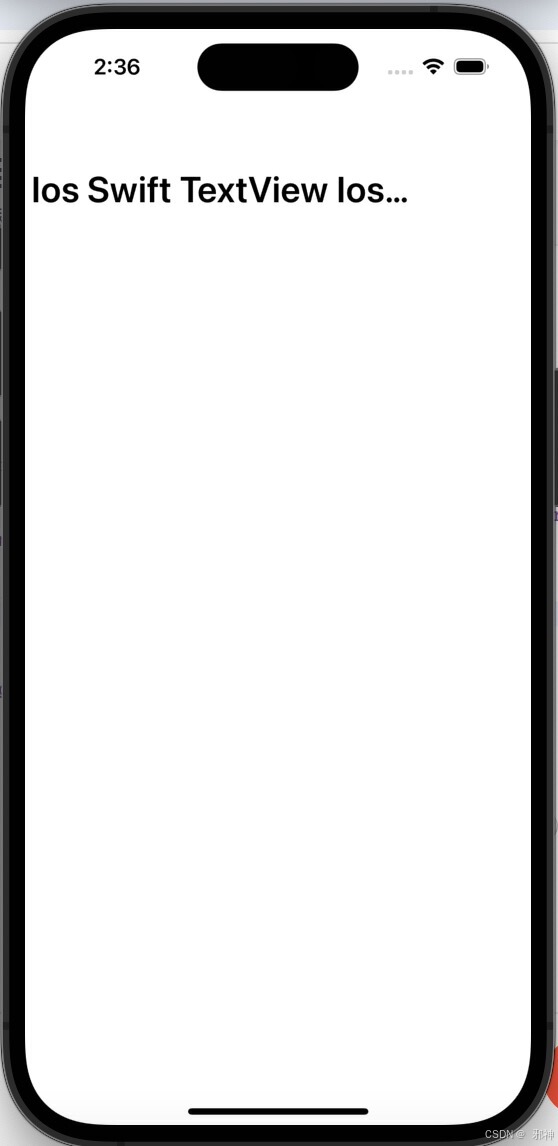
import UIKitclass ViewController: UIViewController {override func viewDidLoad() {super.viewDidLoad()// Do any additional setup after loading the view.let attributedString = NSMutableAttributedString(string: "Ios Swift TextView Ios Swift TextView Ios Swift TextView Ios Swift TextView")attributedString.addAttribute(NSAttributedString.Key.font, value: UIFont.boldSystemFont(ofSize: 28.0), range: NSRange(location: 0, length: attributedString.length))let textView = UITextView(frame: CGRect(x: 0, y: 100, width: 320, height: 300))textView.attributedText = attributedStringtextView.textContainer.maximumNumberOfLines = 1;textView.textContainer.lineBreakMode = .byTruncatingTailself.view.addSubview(textView)}}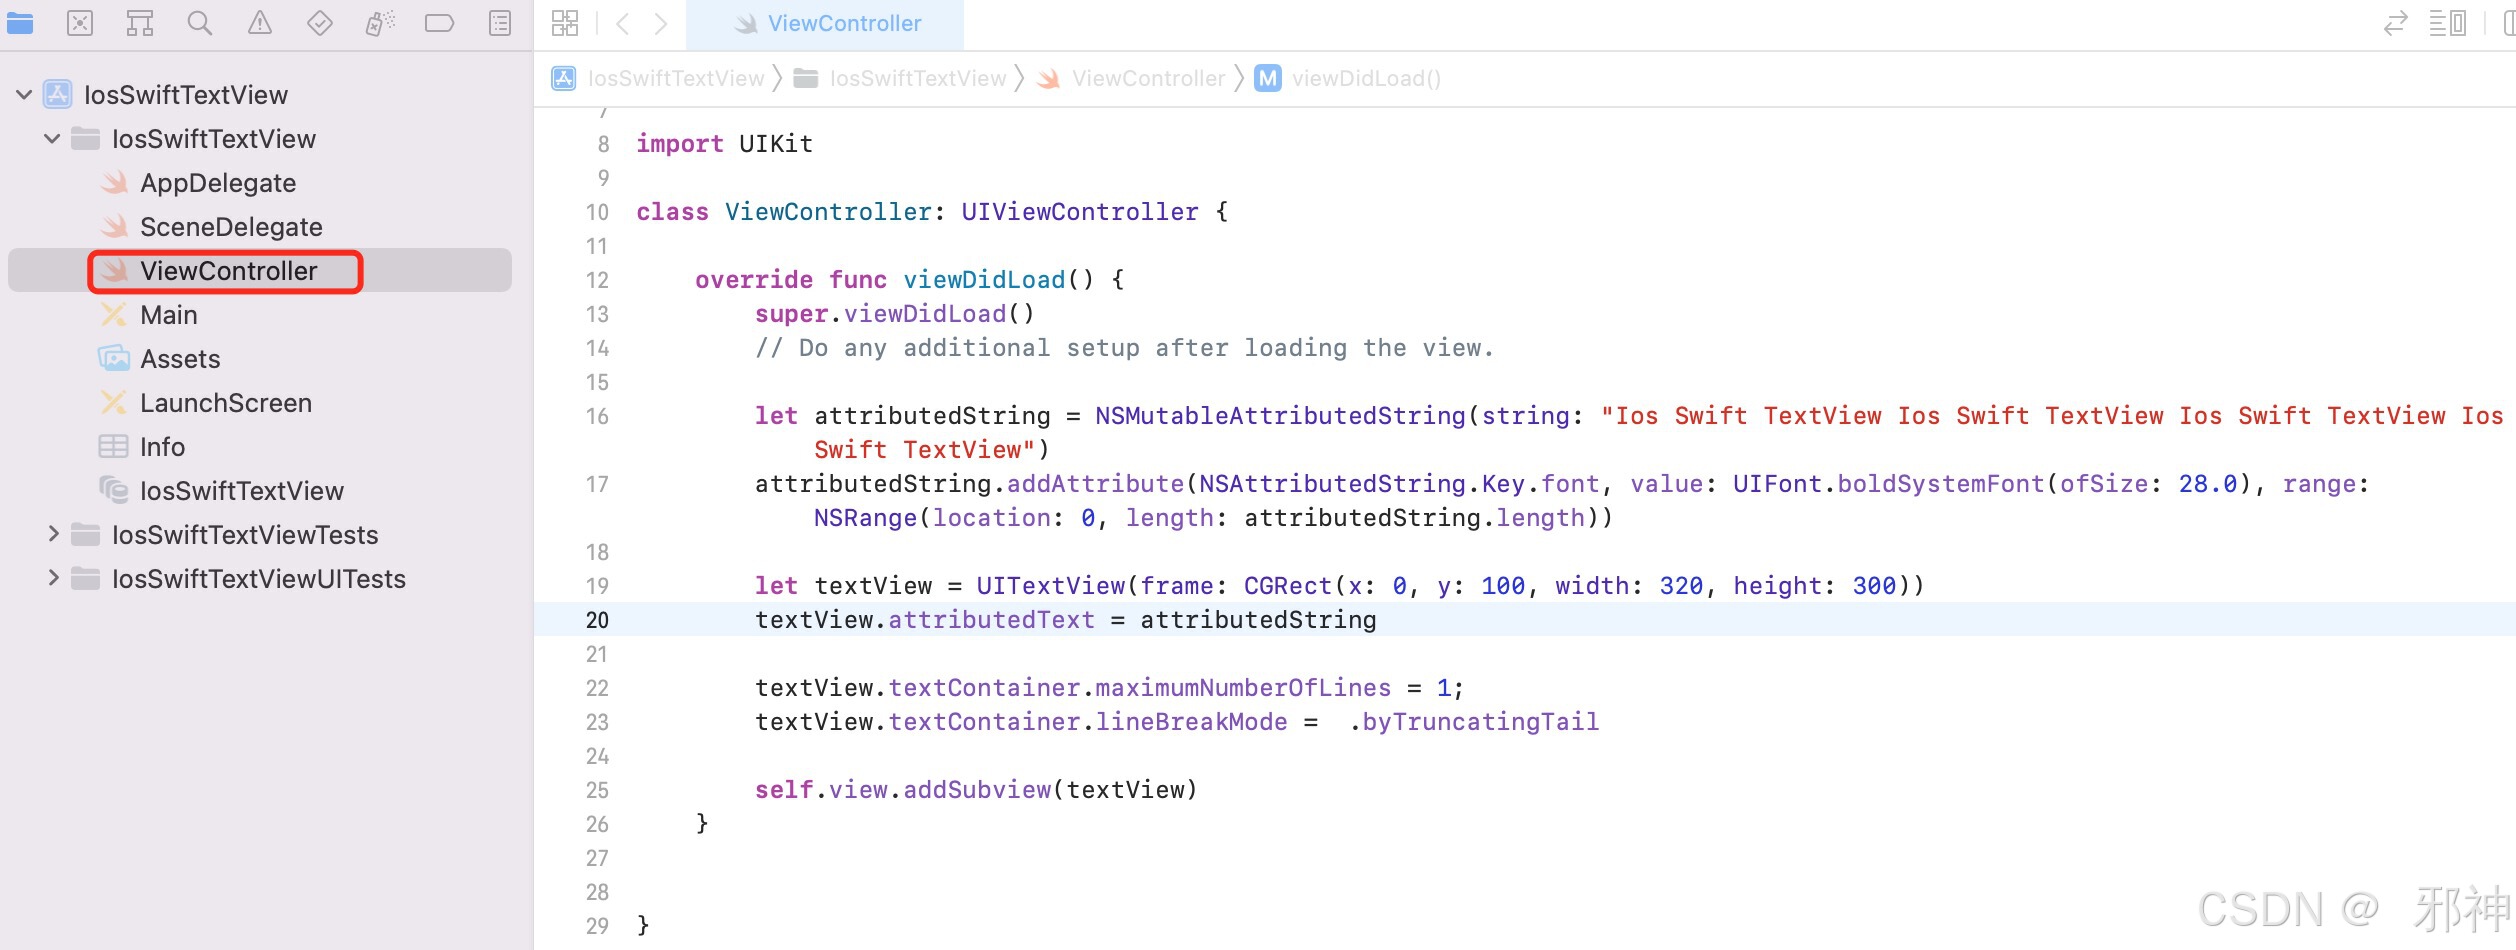
React Native 布局 参考
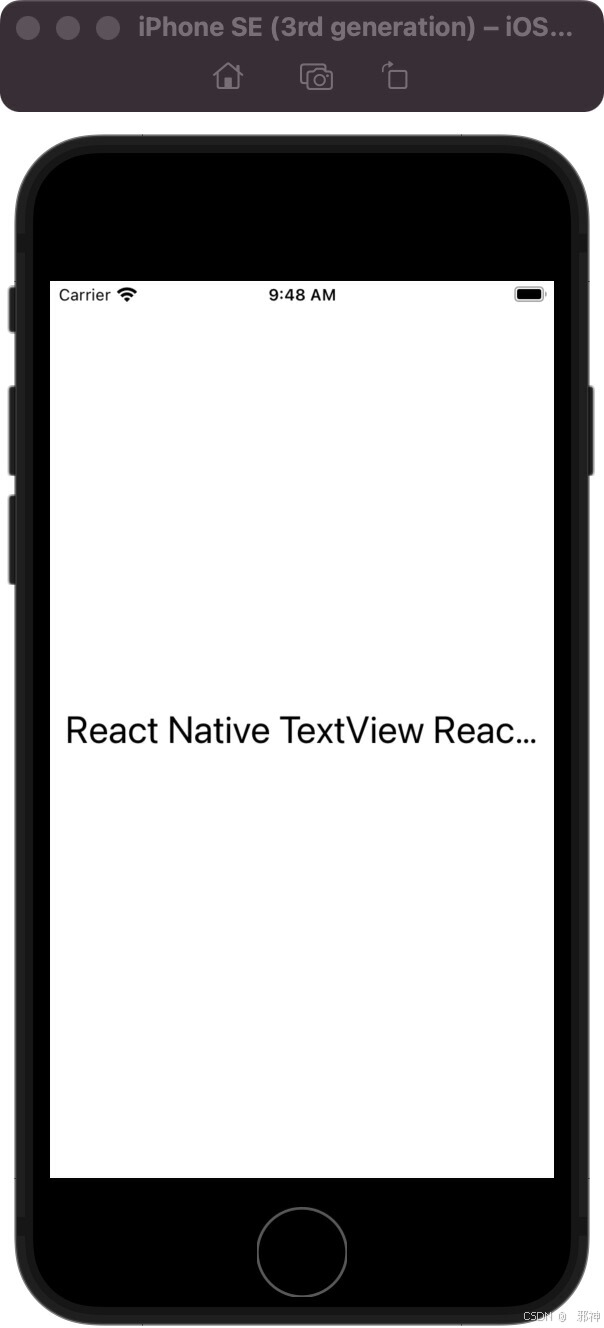
显示一行文本
import React from 'react';
import {AppRegistry, StyleSheet, Text, View} from 'react-native';
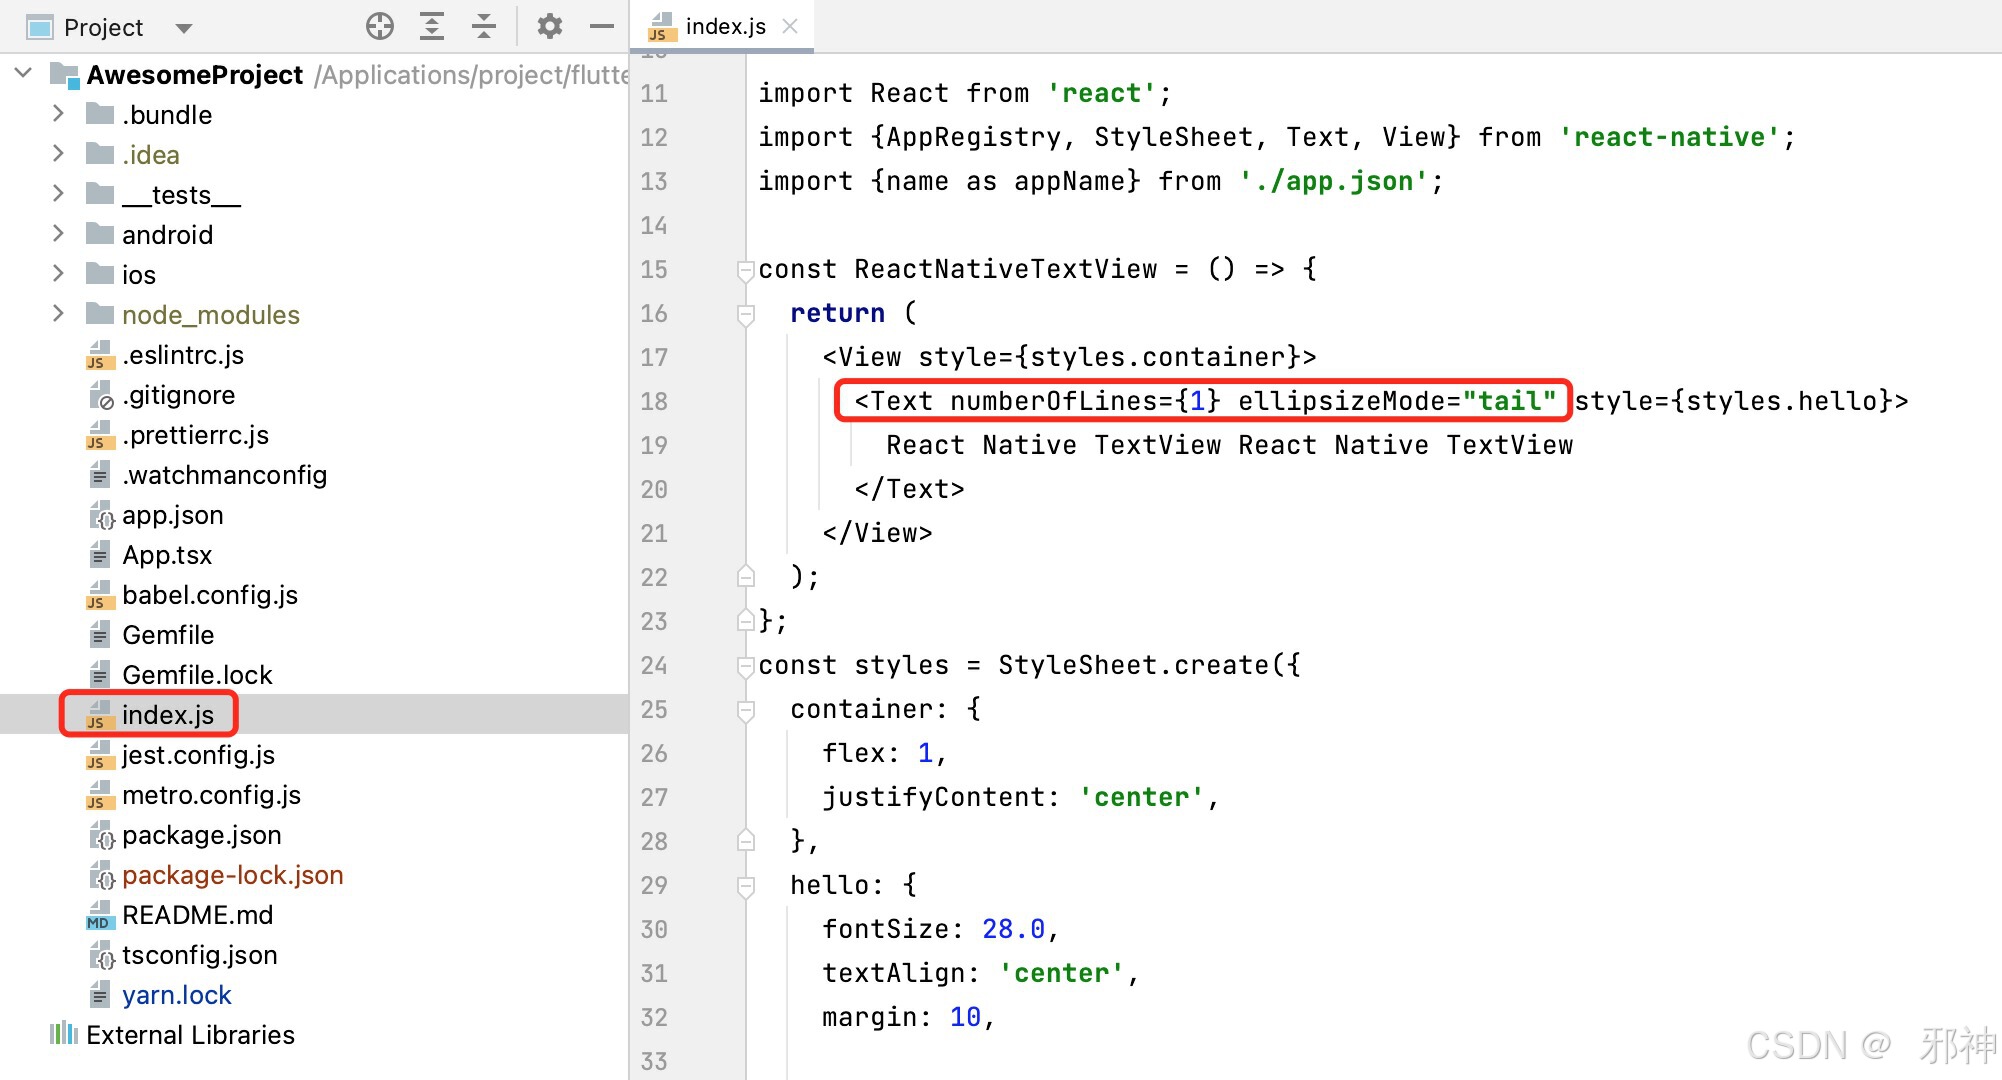
import {name as appName} from './app.json';const ReactNativeTextView = () => {return (<View style={styles.container}><Text numberOfLines={1} ellipsizeMode="tail" style={styles.hello}>React Native TextView React Native TextView</Text></View>);
};
const styles = StyleSheet.create({container: {flex: 1,justifyContent: 'center',},hello: {fontSize: 28.0,textAlign: 'center',margin: 10,},
});AppRegistry.registerComponent(appName,() => ReactNativeTextView,
);
搭建开发者环境
设置淘宝npm镜像
npm config set registry https://registry.npmmirror.com/
检查当前使用的镜像
npm config get registry
Cannot find module 'react-scripts/package.json'
执行如下命令:npm install --save react-scripts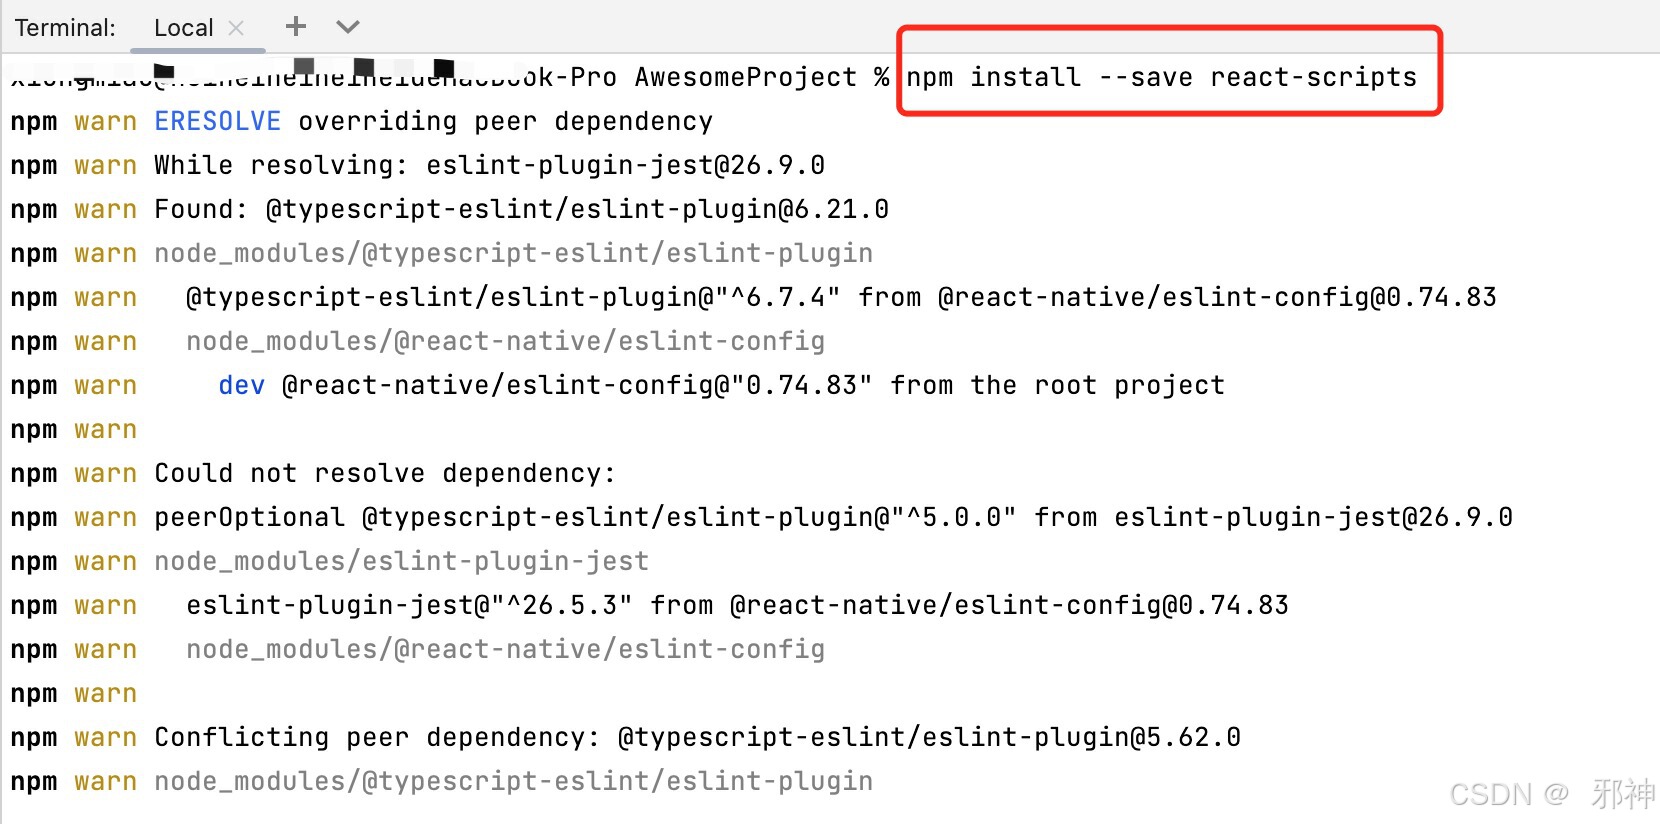
执行 export 配置环境
export JAVA_HOME= Java环境变量安装路径例如 :

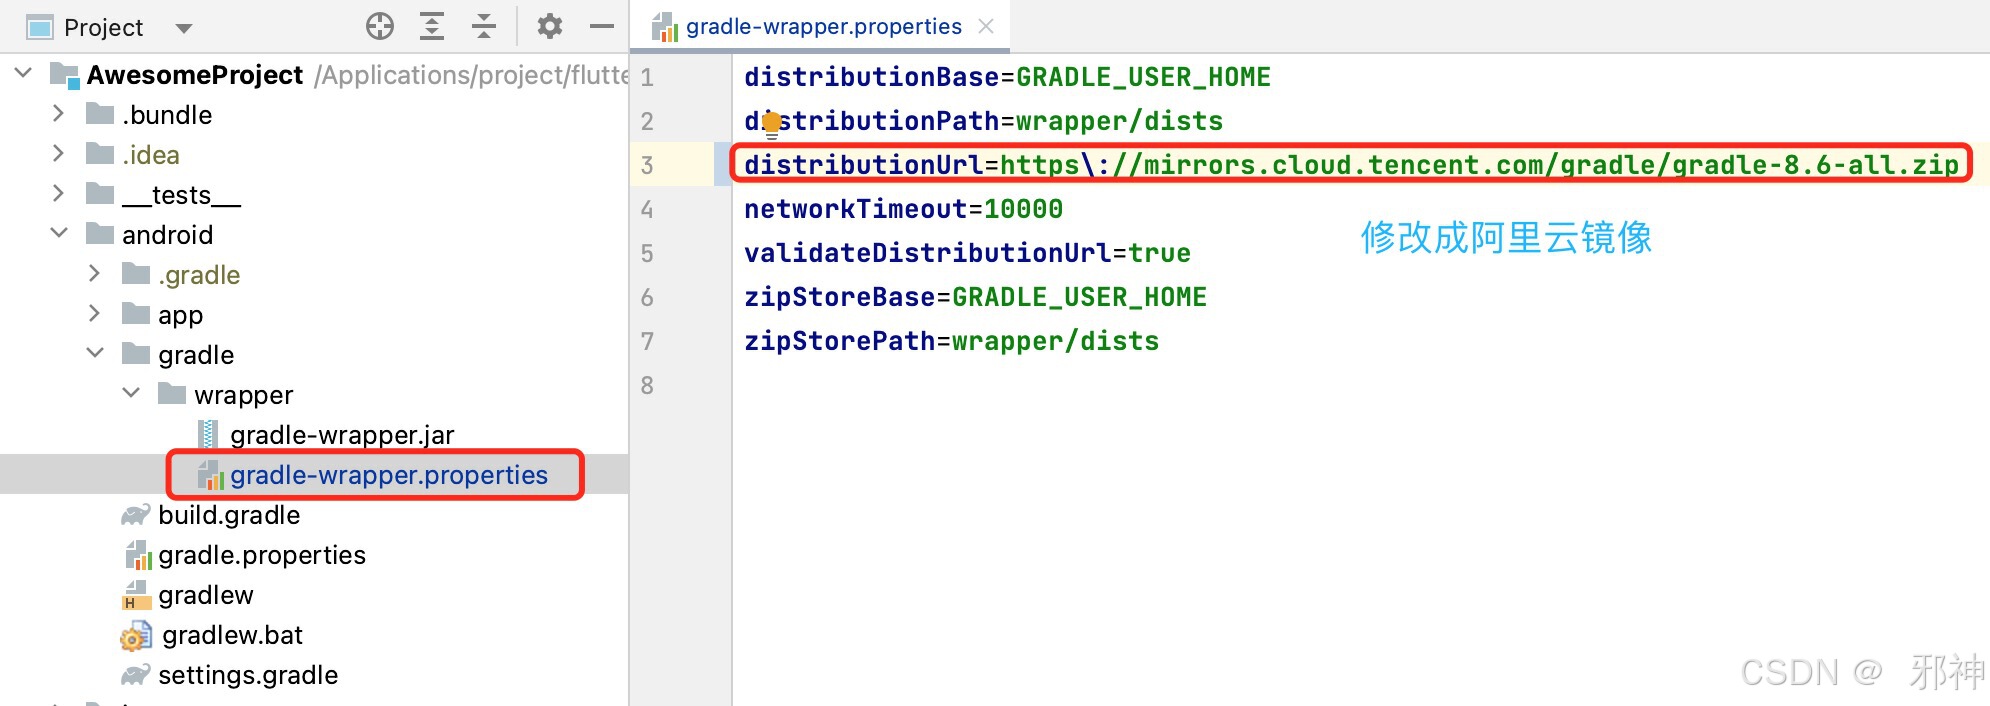
修改gradle镜像路径
修改成 阿里云镜像
运行到安卓平台
采用 npx react-native run-android 或 npm start 运行

运行到IOS平台
采用 npx react-native run-ios 或 npm start 运行
切换到iOS目录从新安装依赖
// 清除缓存
pod cache clean  --all//移出本地 pod文件依赖
pod  deintegrate//执行安装显示下载信息
pod install --verbose --no-repo-update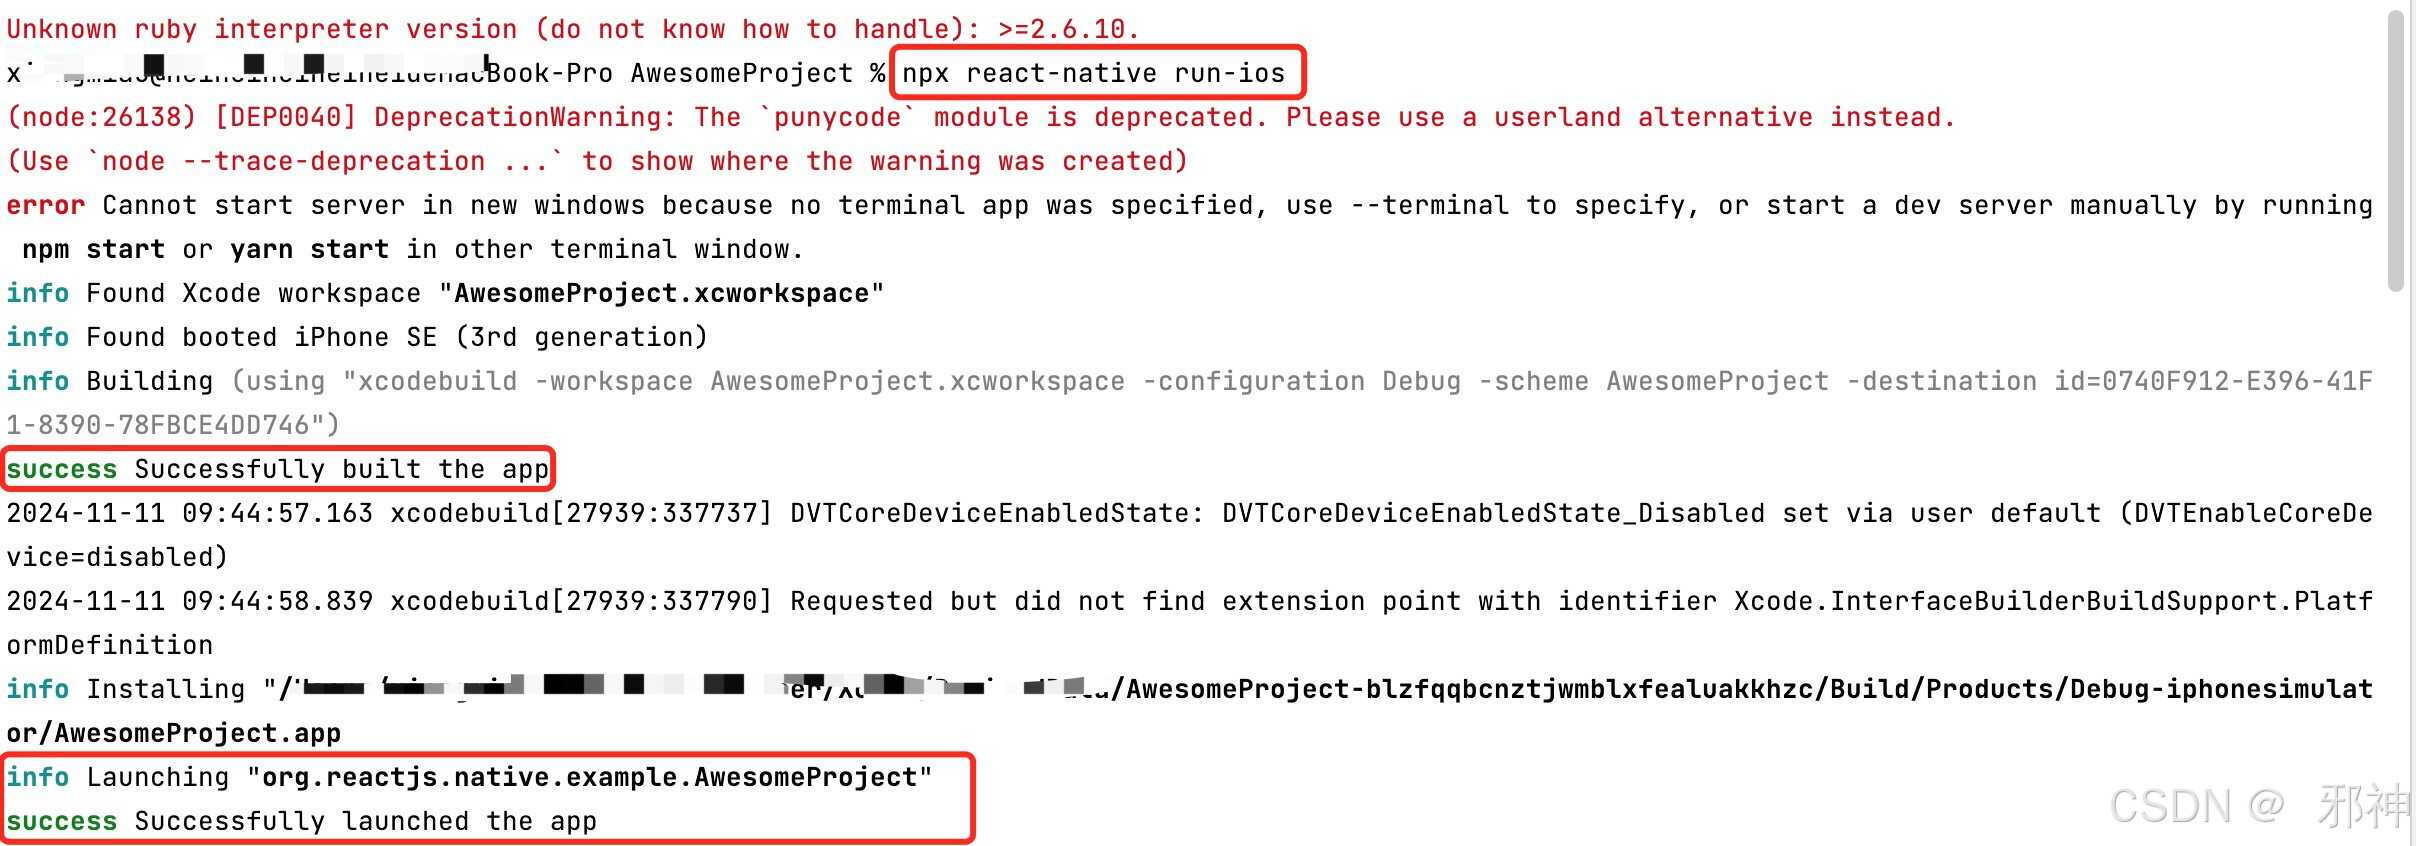
案例
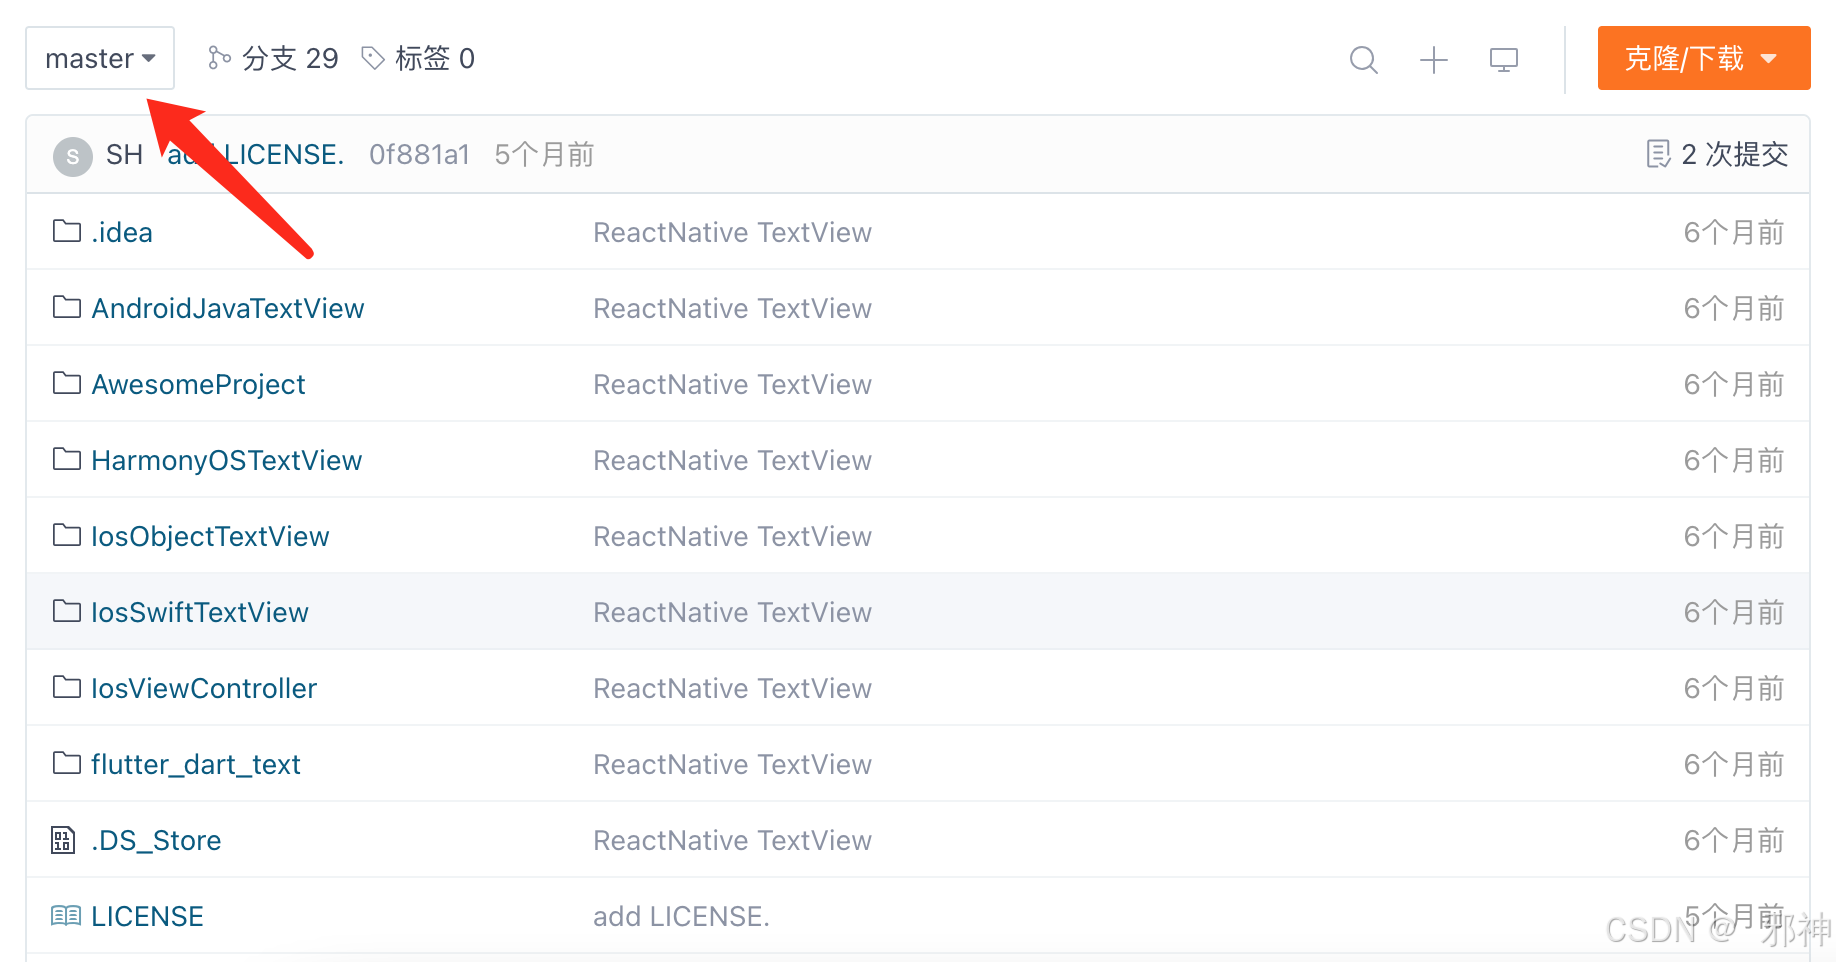
所属分支
