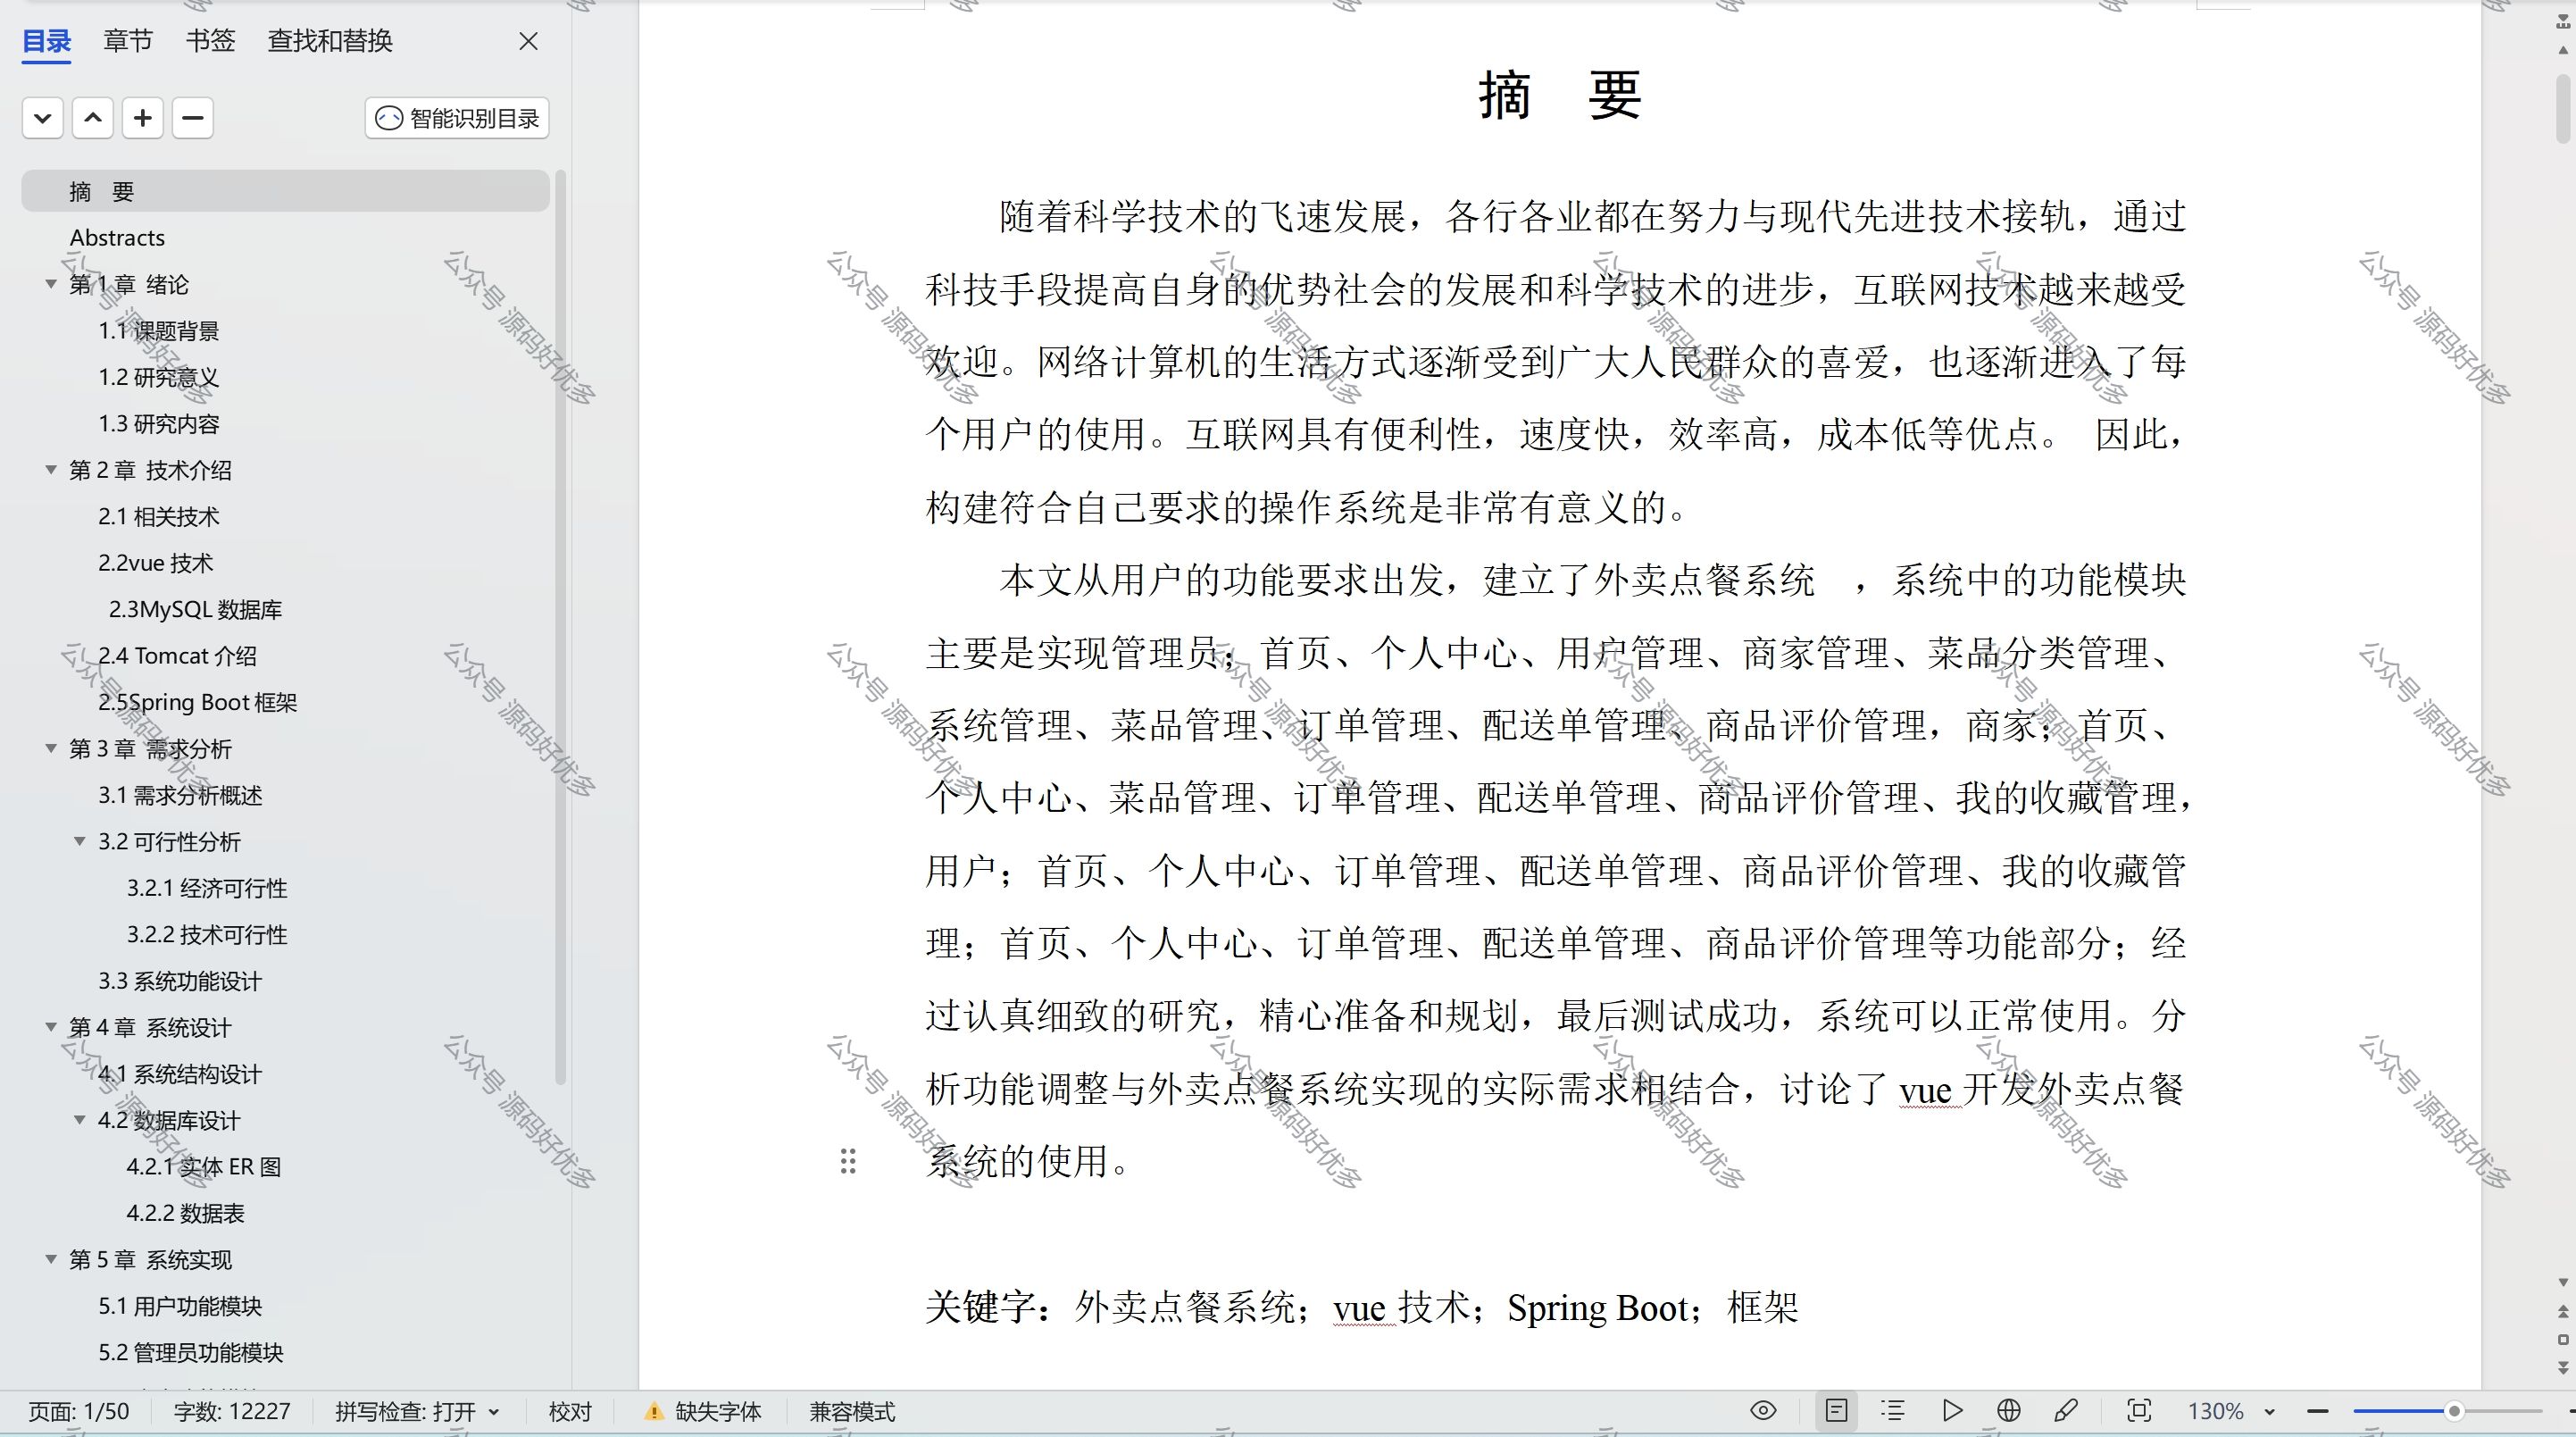
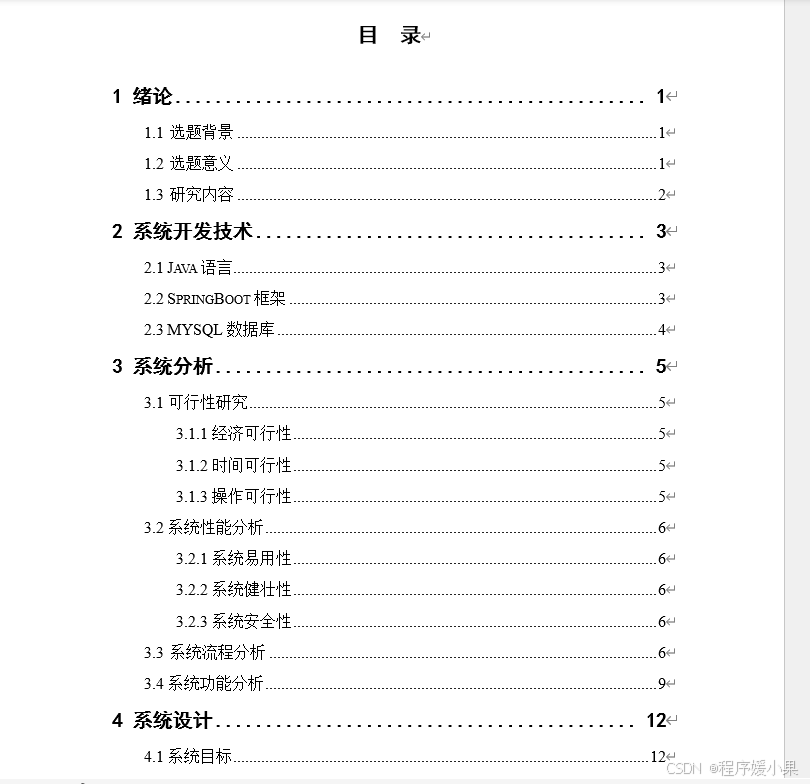
在本章中,我们将学习如何使用Python编写一个脚本来增强图片的清晰度。我们将使用百度AI平台的图片清晰度增强API来实现这一功能。以下是详细的步骤和代码解释。
准备工作
在开始之前,请确保你已经安装了以下Python库:
requests:用于发送HTTP请求。Pillow:用于处理图像文件。base64:用于编码和解码图像数据。
如果尚未安装这些库,可以通过以下命令安装:
pip install requests Pillow
导入必要的库
from base64 import b64encode, b64decode
from io import BytesIO
import requests
from PIL import Image
这段代码导入了我们需要的所有库。
定义增强图片清晰度的函数
def enhance_image_definition(img_file, output_file):"""增强图片清晰度:param img_file: 输入图片文件路径:param output_file: 输出图片文件路径"""
这个函数接受两个参数:img_file(输入图片的文件路径)和output_file(输出图片的文件路径)。
数据准备
try:# 对图片数据进行base64编码with open(img_file, 'rb') as fr:b64_image = b'data:image/jpeg;base64,' + b64encode(fr.read())print(f'待上传图片:{img_file}')except FileNotFoundError:print(f'图片文件不存在:{img_file}')return
这段代码尝试打开输入图片文件,并将其内容转换为base64编码格式。如果文件不存在,将打印错误信息并退出函数。
准备请求数据
form_data = {'image': b64_image,'image_url': '','type': 'https://aip.baidubce.com/rest/2.0/image-process/v1/image_definition_enhance'}headers = {'user-agent': 'Mozilla/5.0 (Windows NT 6.2) AppleWebKit/537.36 (KHTML, like Gecko) Chrome/28.0.1467.0 Safari/537.36','referer': 'https://ai.baidu.com/tech/imageprocess/image_definition_enhance'}
这里,我们准备了发送到百度AI平台的请求数据,包括编码后的图片数据和请求头。
发送请求
URL = 'https://ai.baidu.com/aidemo'try:response = requests.post(URL, headers=headers, data=form_data, timeout=50)response.raise_for_status()data = response.json()['data']['image'].strip()if not data:print('请求失败')return
这段代码使用requests库向百度AI平台发送POST请求,并检查响应状态。如果请求失败,将打印错误信息并退出函数。
保存增强后的图片
# 保存图片Image.open(BytesIO(b64decode(data))).save(output_file)print(f'输出图片:{output_file}')except requests.RequestException:print('请求失败')except Exception as e:print(f'保存图片发生错误:{e}')
如果请求成功,我们将响应中的图片数据解码,并使用Pillow库保存为输出文件。
完整代码
from base64 import b64encode, b64decode
from io import BytesIO
import requests
from PIL import Imagedef enhance_image_definition(img_file, output_file):"""增强图片清晰度:param img_file: 输入图片文件路径:param output_file: 输出图片文件路径"""# 数据准备try:# 对图片数据进行base64编码with open(img_file, 'rb') as fr:b64_image = b'data:image/jpeg;base64,' + b64encode(fr.read())print(f'待上传图片:{img_file}')except FileNotFoundError:print(f'图片文件不存在:{img_file}')returnform_data = {'image': b64_image,'image_url': '','type': 'https://aip.baidubce.com/rest/2.0/image-process/v1/image_definition_enhance'}headers = {'user-agent': 'Mozilla/5.0 (Windows NT 6.2) AppleWebKit/537.36 (KHTML, like Gecko) Chrome/28.0.1467.0 Safari/537.36','referer': 'https://ai.baidu.com/tech/imageprocess/image_definition_enhance'}# 发送请求URL = 'https://ai.baidu.com/aidemo'try:response = requests.post(URL, headers=headers, data=form_data, timeout=50)response.raise_for_status()data = response.json()['data']['image'].strip()if not data:print('请求失败')return# 保存图片Image.open(BytesIO(b64decode(data))).save(output_file)print(f'输出图片:{output_file}')except requests.RequestException:print('请求失败')except Exception as e:print(f'保存图片发生错误:{e}')
运行脚本
if __name__ == '__main__':enhance_image_definition(r"C:\Users\user\Desktop\1.png",r'C:\Users\user\Desktop\11.png')
这段代码在脚本直接运行时调用enhance_image_definition函数,增强指定路径的图片清晰度。


![[论文笔记]An LLM Compiler for Parallel Function Calling](https://img-blog.csdnimg.cn/img_convert/7154291053e757be8f1c46472d10ef91.png)


