在完成模型训练和模型量化后,就可以开始我们的模型部署了。这部分的关键在于Model类中层的初始化以及build和call的实现。
环境依赖
- esp-idf > 5.0
- esp-dl
模型定义
在模型定义时,我们需要用到量化时输出的层信息、cat_vs_dog_coefficient.hpp,必要时还可以使用netron查看神经网络的结构。
项目结构如下所示:
├── CMakeLists.txt
├── components
│   └── esp-dl
├── main
│   ├── app_main.cpp
│   ├── input_data.h
│   └── CMakeLists.txt
├── model
│   ├── cat_vs_dog_coefficient.cpp
│   ├── cat_vs_dog_coefficient.hpp
│   └── model_define.hpp
├── partitions.csv
├── sdkconfig
├── sdkconfig.defaults
├── sdkconfig.defaults.esp32
├── sdkconfig.defaults.esp32s2
└── sdkconfig.defaults.esp32s3
量化时输出的层信息如下:
Generating the quantization table:
Converting coefficient to int16 per-tensor quantization for esp32s3
Exporting finish, the output files are: ./cat_vs_dog_coefficient.cpp, ./cat_vs_dog_coefficient.hppQuantized model info:
model input name: input_1, exponent: -15
Transpose layer name: StatefulPartitionedCall/model/conv1/Conv2D__6, output_exponent: -15
Conv layer name: StatefulPartitionedCall/model/conv1/Conv2D, output_exponent: -11
DepthwiseConv layer name: StatefulPartitionedCall/model/conv_dw_1/depthwise, output_exponent: -10
Conv layer name: StatefulPartitionedCall/model/conv_pw_1/Conv2D, output_exponent: -9
DepthwiseConv layer name: StatefulPartitionedCall/model/conv_dw_2/depthwise, output_exponent: -10
Conv layer name: StatefulPartitionedCall/model/conv_pw_2/Conv2D, output_exponent: -10
DepthwiseConv layer name: StatefulPartitionedCall/model/conv_dw_4/depthwise, output_exponent: -10
Conv layer name: StatefulPartitionedCall/model/conv_pw_4/Conv2D, output_exponent: -10
DepthwiseConv layer name: StatefulPartitionedCall/model/conv_dw_5/depthwise, output_exponent: -10
Conv layer name: StatefulPartitionedCall/model/conv_pw_5/Conv2D, output_exponent: -11
DepthwiseConv layer name: StatefulPartitionedCall/model/conv_dw_6/depthwise, output_exponent: -11
Conv layer name: StatefulPartitionedCall/model/conv_pw_6/Conv2D, output_exponent: -12
GlobalAveragePool layer name: StatefulPartitionedCall/model/global_average_pooling2d/Mean, output_exponent: -12
Squeeze layer name: StatefulPartitionedCall/model/global_average_pooling2d/Mean_Squeeze__118, output_exponent: -12
Gemm layer name: fused_gemm_0, output_exponent: -10
Softmax layer name: StatefulPartitionedCall/model/softmax/Softmax, output_exponent: -14
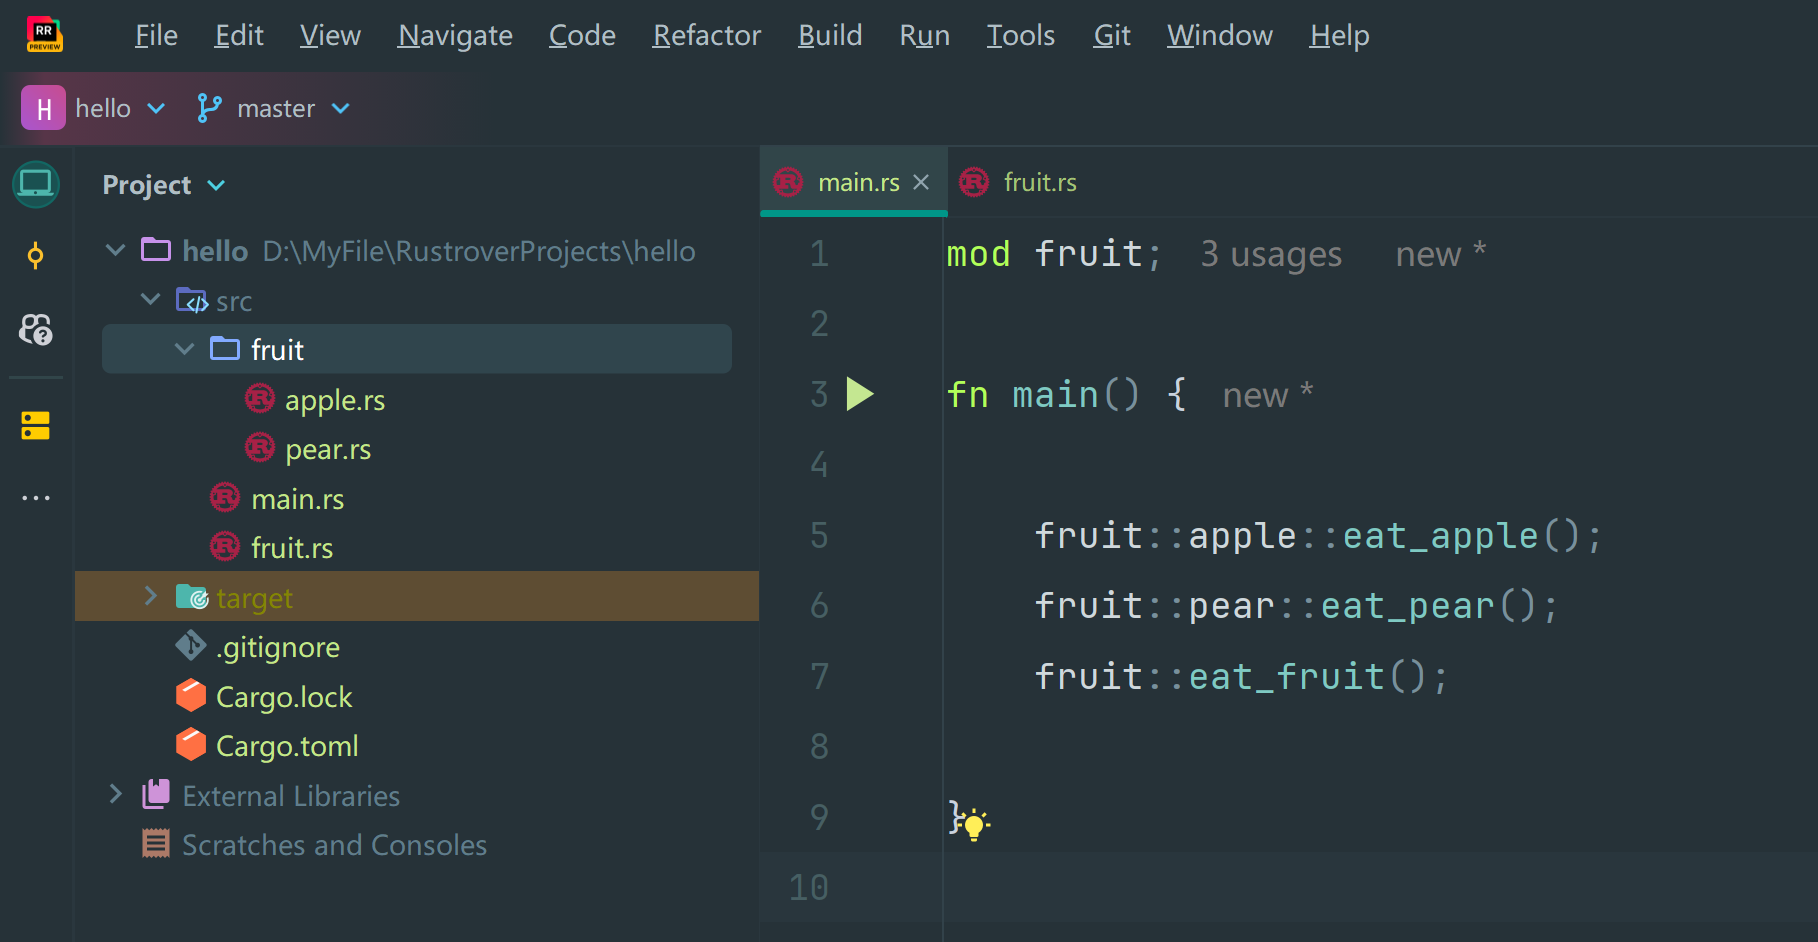
我们以下关于模型的操作均在model_define.hpp文件中完成。
层初始化
导入必要头文件
首先,参考量化时输出的层信息,我们要将所有用到的层的头文件以及一些其它必要的头文件包含进来
#include "cat_vs_dog_coefficient.hpp"
#include "dl_layer_model.hpp"
#include "dl_layer_base.hpp"#include "dl_layer_conv2d.hpp"
#include "dl_layer_depthwise_conv2d.hpp"
#include "dl_layer_global_avg_pool2d.hpp"
#include "dl_layer_softmax.hpp"
#include <stdint.h>
定义层
接下来是定义每个层。
- 由于onnx中张量的顺序为CHW,而我们训练时使用的是HWC顺序,因此在模型输入端会有一个reshape或transpose,这里这层和输入不需要定义。
- 最后的全连接层为矩阵乘法,在优化模型时会将 其和其后的add层 转换为Gemm层,如果缺少add层则不会进行转换。Gemm层依然使用conv2d来实现。
- 在最后的全连接层,Squeeze会将为1的维度删除,但是会导致紧随其后的conv2d报错,因此这里的Squeeze我们也不定义。
- 除了输出层,所有层都定义为私有变量。
- 在建立模型时,请按照量化时输出的层信息中的顺序放置各层。
剔除掉不需要构建的层之后,我们的层结构如下:
Conv layer name: StatefulPartitionedCall/model/conv1/Conv2D, output_exponent: -11
DepthwiseConv layer name: StatefulPartitionedCall/model/conv_dw_1/depthwise, output_exponent: -10
Conv layer name: StatefulPartitionedCall/model/conv_pw_1/Conv2D, output_exponent: -9
DepthwiseConv layer name: StatefulPartitionedCall/model/conv_dw_2/depthwise, output_exponent: -10
Conv layer name: StatefulPartitionedCall/model/conv_pw_2/Conv2D, output_exponent: -10
DepthwiseConv layer name: StatefulPartitionedCall/model/conv_dw_4/depthwise, output_exponent: -10
Conv layer name: StatefulPartitionedCall/model/conv_pw_4/Conv2D, output_exponent: -10
DepthwiseConv layer name: StatefulPartitionedCall/model/conv_dw_5/depthwise, output_exponent: -10
Conv layer name: StatefulPartitionedCall/model/conv_pw_5/Conv2D, output_exponent: -11
DepthwiseConv layer name: StatefulPartitionedCall/model/conv_dw_6/depthwise, output_exponent: -11
Conv layer name: StatefulPartitionedCall/model/conv_pw_6/Conv2D, output_exponent: -12
GlobalAveragePool layer name: StatefulPartitionedCall/model/global_average_pooling2d/Mean, output_exponent: -12
Gemm layer name: fused_gemm_0, output_exponent: -10
Softmax layer name: StatefulPartitionedCall/model/softmax/Softmax, output_exponent: -14
因此我们定义的层如下:
class CAT_VS_DOG : public Model<int16_t> // Derive the Model class in "dl_layer_model.hpp"
{
private:// Declare layers as member variablesConv2D<int16_t> l1;DepthwiseConv2D<int16_t> l2;Conv2D<int16_t> l3;DepthwiseConv2D<int16_t> l4;Conv2D<int16_t> l5;DepthwiseConv2D<int16_t> l6;Conv2D<int16_t> l7;DepthwiseConv2D<int16_t> l8;Conv2D<int16_t> l9;DepthwiseConv2D<int16_t> l10;Conv2D<int16_t> l11;GlobalAveragePool2D<int16_t> l12;Conv2D<int16_t> l13;public:Softmax<int16_t> l14; //Output layer
}
构建层
有关如何初始化不同运算层,请查看 esp-dl/include/layer/ 文件夹中相应的 .hpp 文件。
以Conv2D<int16_t> l1为例,它的定义可以参考如下
l1(Conv2D<int16_t>(-11, get_statefulpartitionedcall_model_conv1_conv2d_filter(), get_statefulpartitionedcall_model_conv1_conv2d_bias(), get_statefulpartitionedcall_model_conv1_conv2d_activation(), PADDING_SAME_END, {}, 2,2, "l1")),
- -11:量化时输出的该层指数位
- get_statefulpartitionedcall_model_conv1_conv2d_filter(), get_statefulpartitionedcall_model_conv1_conv2d_bias(), get_statefulpartitionedcall_model_conv1_conv2d_activation():分别为
model_define.hpp中定义的获取该层权重、偏差、激活层参数的函数 - PADDING_SAME_END:padding的方式,与模型构建时定义有关
- 2,2:步长,也与模型构建时定义有关
构建完成的结果如下:
CAT_VS_DOG () : l1(Conv2D<int16_t>(-11, get_statefulpartitionedcall_model_conv1_conv2d_filter(), get_statefulpartitionedcall_model_conv1_conv2d_bias(), get_statefulpartitionedcall_model_conv1_conv2d_activation(), PADDING_SAME_END, {}, 2,2, "l1")),l2(DepthwiseConv2D<int16_t>(-10, get_statefulpartitionedcall_model_conv_dw_1_depthwise_filter(), get_statefulpartitionedcall_model_conv_dw_1_depthwise_bias(), get_statefulpartitionedcall_model_conv_dw_1_depthwise_activation(), PADDING_SAME_END, {}, 1,1, "l2")),l3(Conv2D<int16_t>(-9, get_statefulpartitionedcall_model_conv_pw_1_conv2d_filter(), get_statefulpartitionedcall_model_conv_pw_1_conv2d_bias(), get_statefulpartitionedcall_model_conv_pw_1_conv2d_activation(), PADDING_SAME_END, {}, 1,1, "l3")),l4(DepthwiseConv2D<int16_t>(-10, get_statefulpartitionedcall_model_conv_dw_2_depthwise_filter(), get_statefulpartitionedcall_model_conv_dw_2_depthwise_bias(), get_statefulpartitionedcall_model_conv_dw_2_depthwise_activation(), PADDING_VALID, {}, 2,2, "l4")),l5(Conv2D<int16_t>(-10, get_statefulpartitionedcall_model_conv_pw_2_conv2d_filter(), get_statefulpartitionedcall_model_conv_pw_2_conv2d_bias(), get_statefulpartitionedcall_model_conv_pw_2_conv2d_activation(), PADDING_SAME_END, {}, 1,1, "l5")),l6(DepthwiseConv2D<int16_t>(-10, get_statefulpartitionedcall_model_conv_dw_4_depthwise_filter(), get_statefulpartitionedcall_model_conv_dw_4_depthwise_bias(), get_statefulpartitionedcall_model_conv_dw_4_depthwise_activation(), PADDING_VALID, {}, 2,2, "l6")),l7(Conv2D<int16_t>(-10, get_statefulpartitionedcall_model_conv_pw_4_conv2d_filter(), get_statefulpartitionedcall_model_conv_pw_4_conv2d_bias(), get_statefulpartitionedcall_model_conv_pw_4_conv2d_activation(), PADDING_SAME_END, {}, 1,1, "l7")),l8(DepthwiseConv2D<int16_t>(-10, get_statefulpartitionedcall_model_conv_dw_5_depthwise_filter(), get_statefulpartitionedcall_model_conv_dw_5_depthwise_bias(), get_statefulpartitionedcall_model_conv_dw_5_depthwise_activation(), PADDING_SAME_END, {}, 1,1, "l8")),l9(Conv2D<int16_t>(-11, get_statefulpartitionedcall_model_conv_pw_5_conv2d_filter(), get_statefulpartitionedcall_model_conv_pw_5_conv2d_bias(), get_statefulpartitionedcall_model_conv_pw_5_conv2d_activation(), PADDING_SAME_END, {}, 1,1, "l9")),l10(DepthwiseConv2D<int16_t>(-11, get_statefulpartitionedcall_model_conv_dw_6_depthwise_filter(), get_statefulpartitionedcall_model_conv_dw_6_depthwise_bias(), get_statefulpartitionedcall_model_conv_dw_6_depthwise_activation(), PADDING_VALID, {}, 2,2, "l10")),l11(Conv2D<int16_t>(-12, get_statefulpartitionedcall_model_conv_pw_6_conv2d_filter(), get_statefulpartitionedcall_model_conv_pw_6_conv2d_bias(), get_statefulpartitionedcall_model_conv_pw_6_conv2d_activation(), PADDING_SAME_END, {}, 1,1, "l11")),l12(GlobalAveragePool2D<int16_t>(-11, "l12")),l13(Conv2D<int16_t>(-10, get_fused_gemm_0_filter(), get_fused_gemm_0_bias(), NULL, PADDING_VALID, {}, 1,1, "l13")),l14(Softmax<int16_t>(-14,"l14")){}
实现build
只需要将每一层串起来即可,结果如下:
void build(Tensor<int16_t> &input)
{this->l1.build(input);this->l2.build(this->l1.get_output());this->l3.build(this->l2.get_output());this->l4.build(this->l3.get_output());this->l5.build(this->l4.get_output());this->l6.build(this->l5.get_output());this->l7.build(this->l6.get_output());this->l8.build(this->l7.get_output());this->l9.build(this->l8.get_output());this->l10.build(this->l9.get_output());this->l11.build(this->l10.get_output());this->l12.build(this->l11.get_output());this->l13.build(this->l12.get_output());this->l14.build(this->l13.get_output());
}
实现call
同build,只需要将每一层串起来即可:
void call(Tensor<int16_t> &input)
{this->l1.call(input);input.free_element();this->l2.call(this->l1.get_output());this->l1.get_output().free_element();this->l3.call(this->l2.get_output());this->l2.get_output().free_element();this->l4.call(this->l3.get_output());this->l3.get_output().free_element();this->l5.call(this->l4.get_output());this->l4.get_output().free_element();this->l6.call(this->l5.get_output());this->l5.get_output().free_element();this->l7.call(this->l6.get_output());this->l6.get_output().free_element();this->l8.call(this->l7.get_output());this->l7.get_output().free_element();this->l9.call(this->l8.get_output());this->l8.get_output().free_element();this->l10.call(this->l9.get_output());this->l9.get_output().free_element();this->l11.call(this->l10.get_output());this->l10.get_output().free_element();this->l12.call(this->l11.get_output());this->l11.get_output().free_element();this->l13.call(this->l12.get_output());this->l12.get_output().free_element();this->l14.call(this->l13.get_output());this->l13.get_output().free_element();
}
模型运行
设置输入
输入的数据存储在input_data.h文件中,首先对其进行处理
int input_height = 96;
int input_width = 96;
int input_channel = 3;
int input_exponent = -15;
int classes = 2;__attribute__((aligned(16))) int16_t *input_data = (int16_t *)dl::tool::malloc_aligned_prefer(input_height*input_width*input_channel, sizeof(int16_t *));for(int i=0 ;i<input_height*input_width*input_channel; i++){float normalized_input = example_input[i];input_data[i] = (int16_t)DL_CLIP(normalized_input * (1 << -input_exponent), -32768, 32767);
}
之后定义输入张量并设置其尺寸
Tensor<int16_t> input;
input.set_element((int16_t *)input_data).set_exponent(input_exponent).set_shape({input_height, input_width, input_channel}).set_auto_free(false);
调用模型
定义模型
CAT_VS_DOG model;
调用模型
model.forward(input);
获取结果
float *score = model.l14.get_output().get_element_ptr();
float max_score = score[0];
int max_index = 0;
for (size_t i = 0; i < classes; i++)
{printf("%f, ", score[i]*100);if (score[i] > max_score){max_score = score[i];max_index = i;}
}
printf("\n");
运行结果


