ldap部署
基本安装和人员导入
1.CentOS7安装配置OpenLDAP与phpLDAPadmin (koomu.cn)
2.https://koomu.cn/centos7-install-openldap-server-and-phpldapadmin/
https://senmer.github.io/zh/posts/tech/ldap/openldap%E5%AE%89%E8%A3%85%E5%92%8C%E4%BD%BF%E7%94%A8/#%e4%b8%80openldap%e7%ae%80%e4%bb%8b
第二个可以作为参考,主要是用第一个(第二个是安装成功后,但是没有设置httpd,也就无法访问网站)
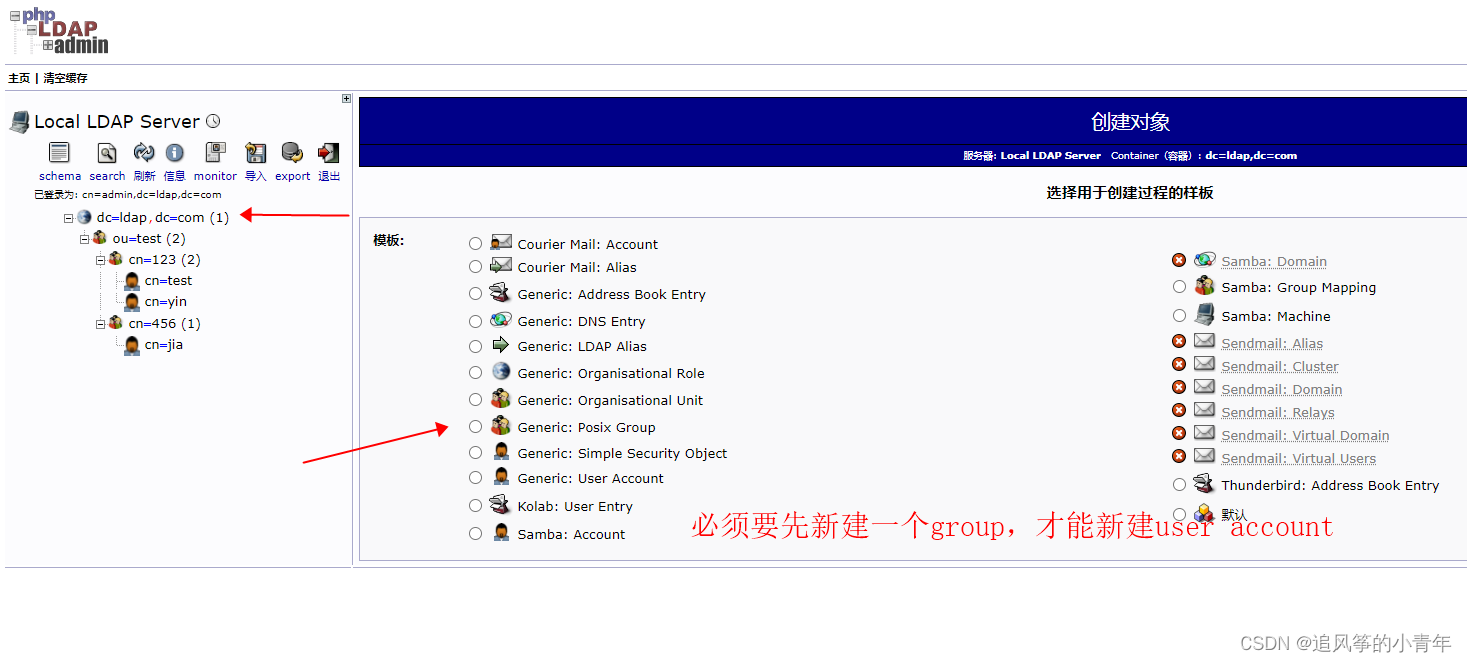
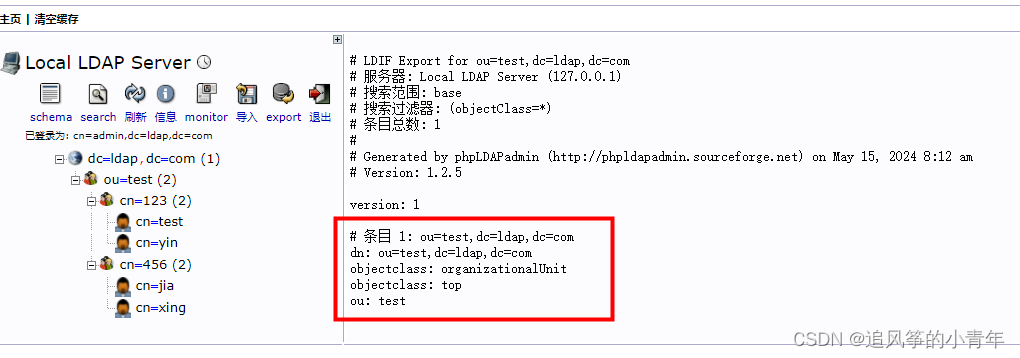
安装完成后,访问网站可能出现This base cannot be created with PLA.
解决方法:需要在服务器中再进行操作
新建一个base.ldif
This base cannot be created with PLA.[root@rabbitredis-1 openldap]# ls
base.ldif  certs  check_password.conf  ldap.conf  schema  slapd.d
[root@rabbitredis-1 openldap]# pwd
/etc/openldap[root@rabbitredis-1 openldap]# cat base.ldif
dn: dc=ldap,dc=com
o: ldap
objectclass: dcObject
objectclass: organization[root@rabbitredis-1 schema]# cat changedomain.ldif   这个是开始的页面,也就是会出现This base cannot be created with PLA.错误
dn: olcDatabase={1}monitor,cn=config
changetype: modify
replace: olcAccess
olcAccess: {0}to * by dn.base="gidNumber=0+uidNumber=0,cn=peercred,cn=external,cn=auth" read by dn.base="cn=admin,dc=ldap,dc=com" read by * nonedn: olcDatabase={2}hdb,cn=config
changetype: modify
replace: olcSuffix
olcSuffix: dc=ldap,dc=comdn: olcDatabase={2}hdb,cn=config
changetype: modify
replace: olcRootDN
olcRootDN: cn=admin,dc=ldap,dc=comdn: olcDatabase={2}hdb,cn=config
changetype: modify
replace: olcRootPW
olcRootPW: {SSHA}u2KvQ3ZNhrh7gidc3Kdo4nHfJtlhvwSudn: olcDatabase={2}hdb,cn=config
changetype: modify
replace: olcDbDirectory
olcDbDirectory: /data/ldap  dn: olcDatabase={2}hdb,cn=config
changetype: modify
add: olcAccess
olcAccess: {0}to attrs=userPassword,shadowLastChange by dn="cn=admin,dc=ldap,dc=com" write by anonymous auth by self write by * none
olcAccess: {1}to dn.base="" by * read
olcAccess: {2}to * by dn="cn=admin,dc=ldap,dc=com" write by * read
2.安装好jumpserver 可以安装最新的
参考地址:jumpserver一键部署安装(docker容器运行)docker安装jumpserver-CSDN博客
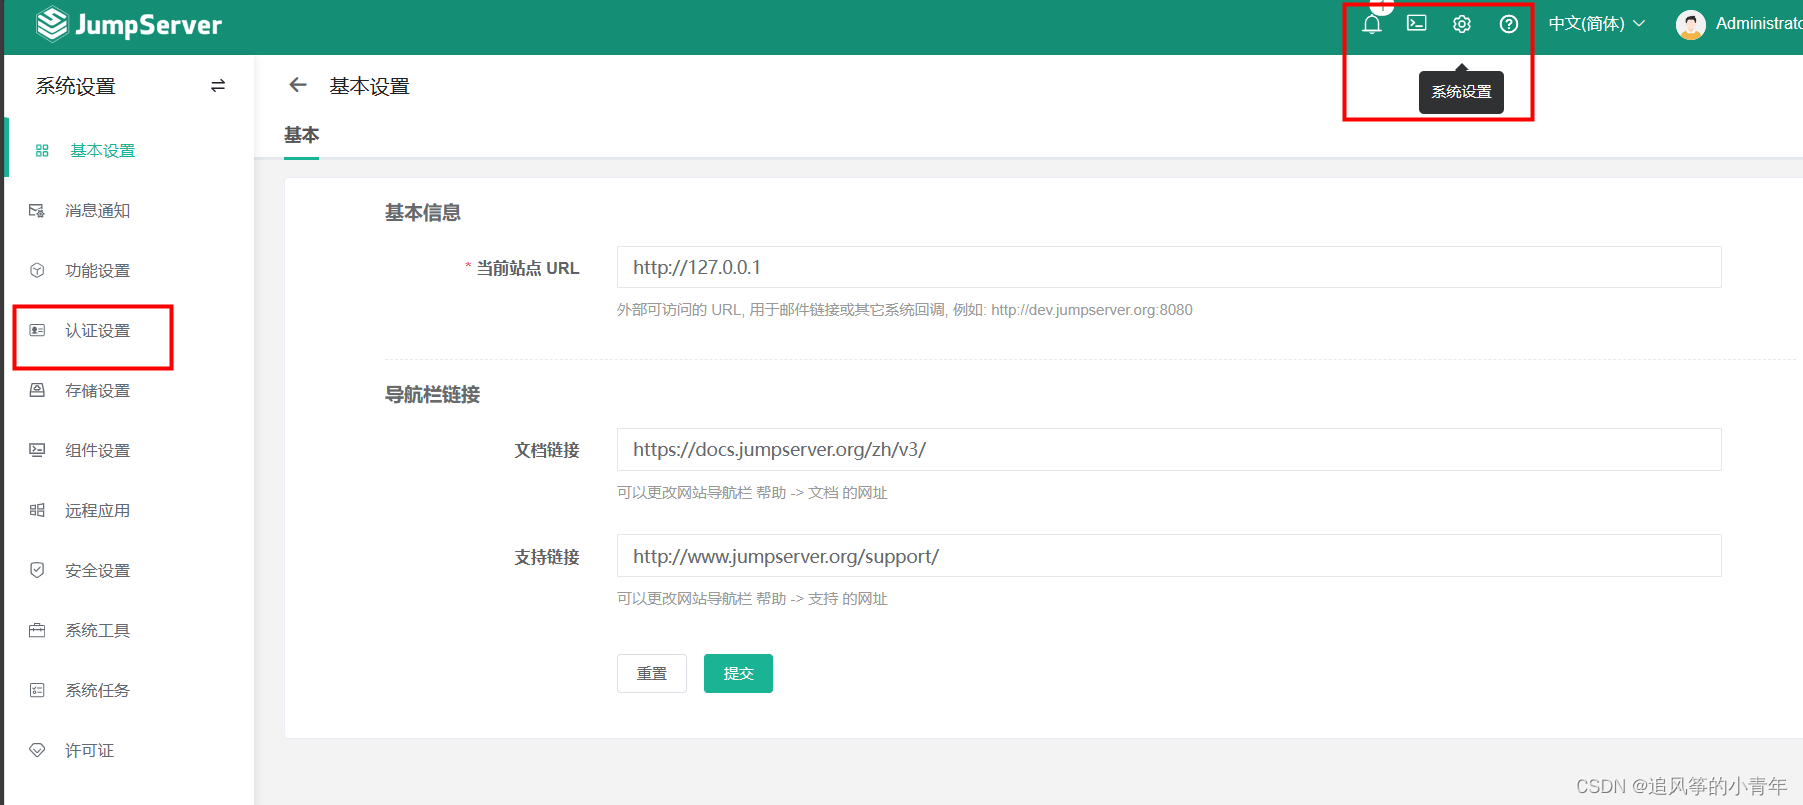
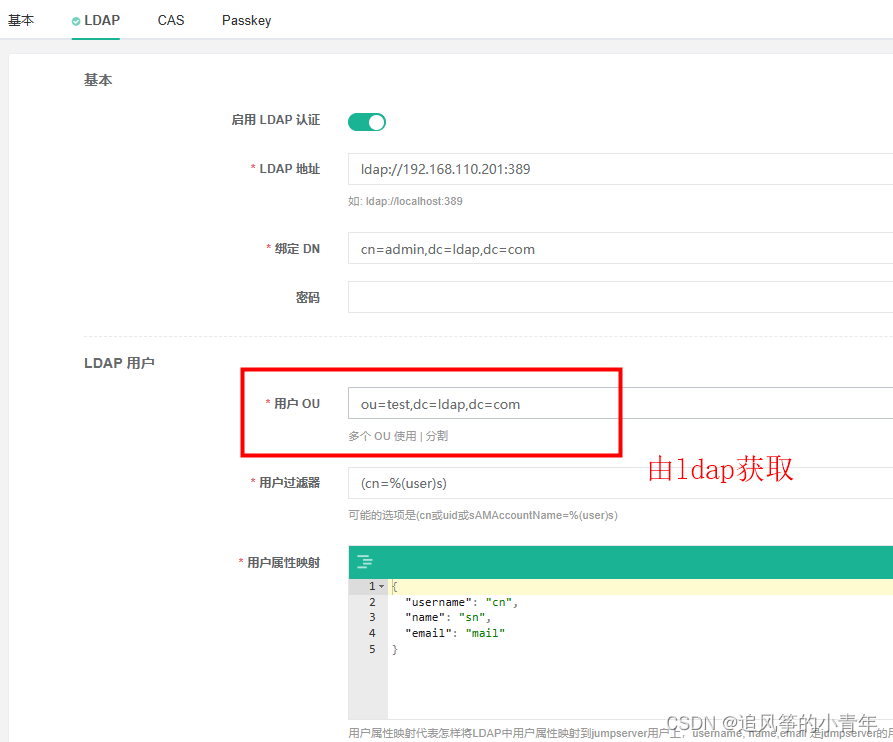
安装好后,接入ldap:
参考地址:https://blog.csdn.net/tladagio/article/details/122745157 点击提交后连接成功并且获取到用户

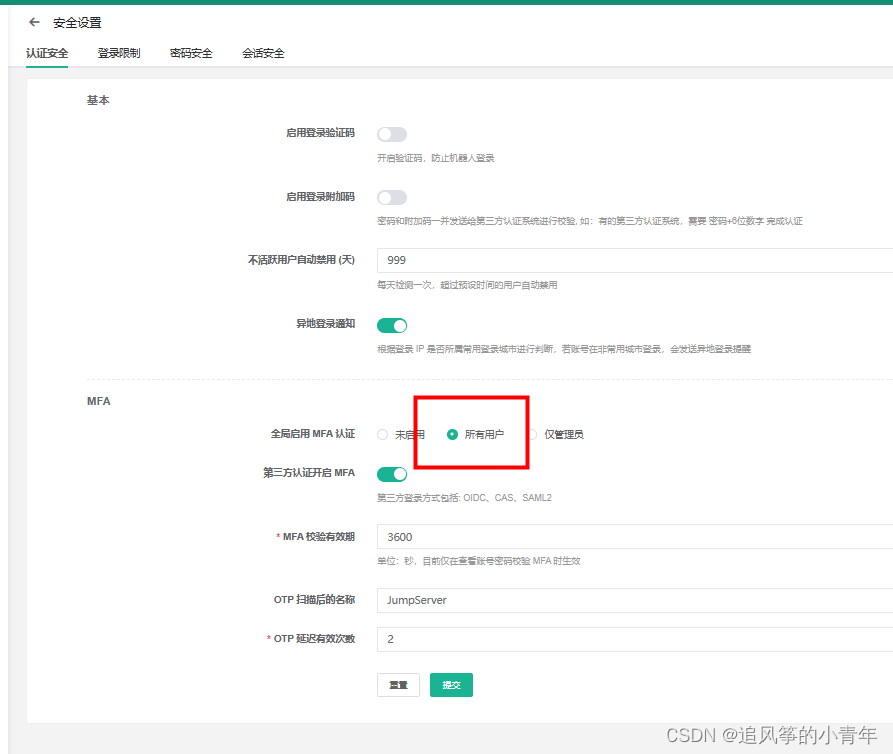
3 当一个ldap普通用户登录jumpserver时,可以自己选择是否开启mfa(也就是数字变化验证码)。但是一般情况下,非超级用户是必须要开启的。 下面的这种方式可以让管理员用户不使用mfa验证。其他用户都需要用动态码
参考:https://blog.csdn.net/ihaveapanchan/article/details/135523763
4 全部用户都需要使用动态码
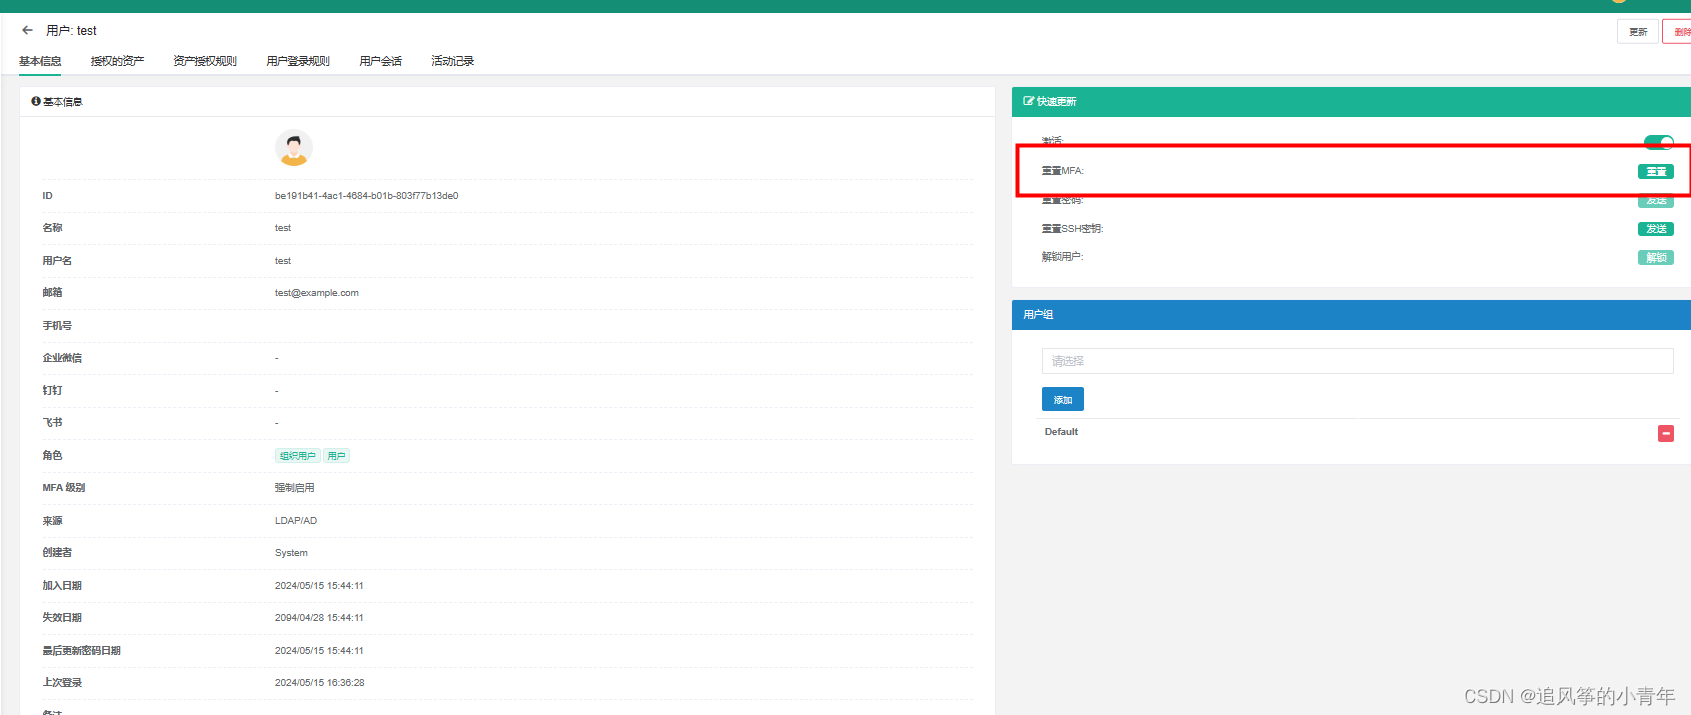
5 重置普通用户mfa
